
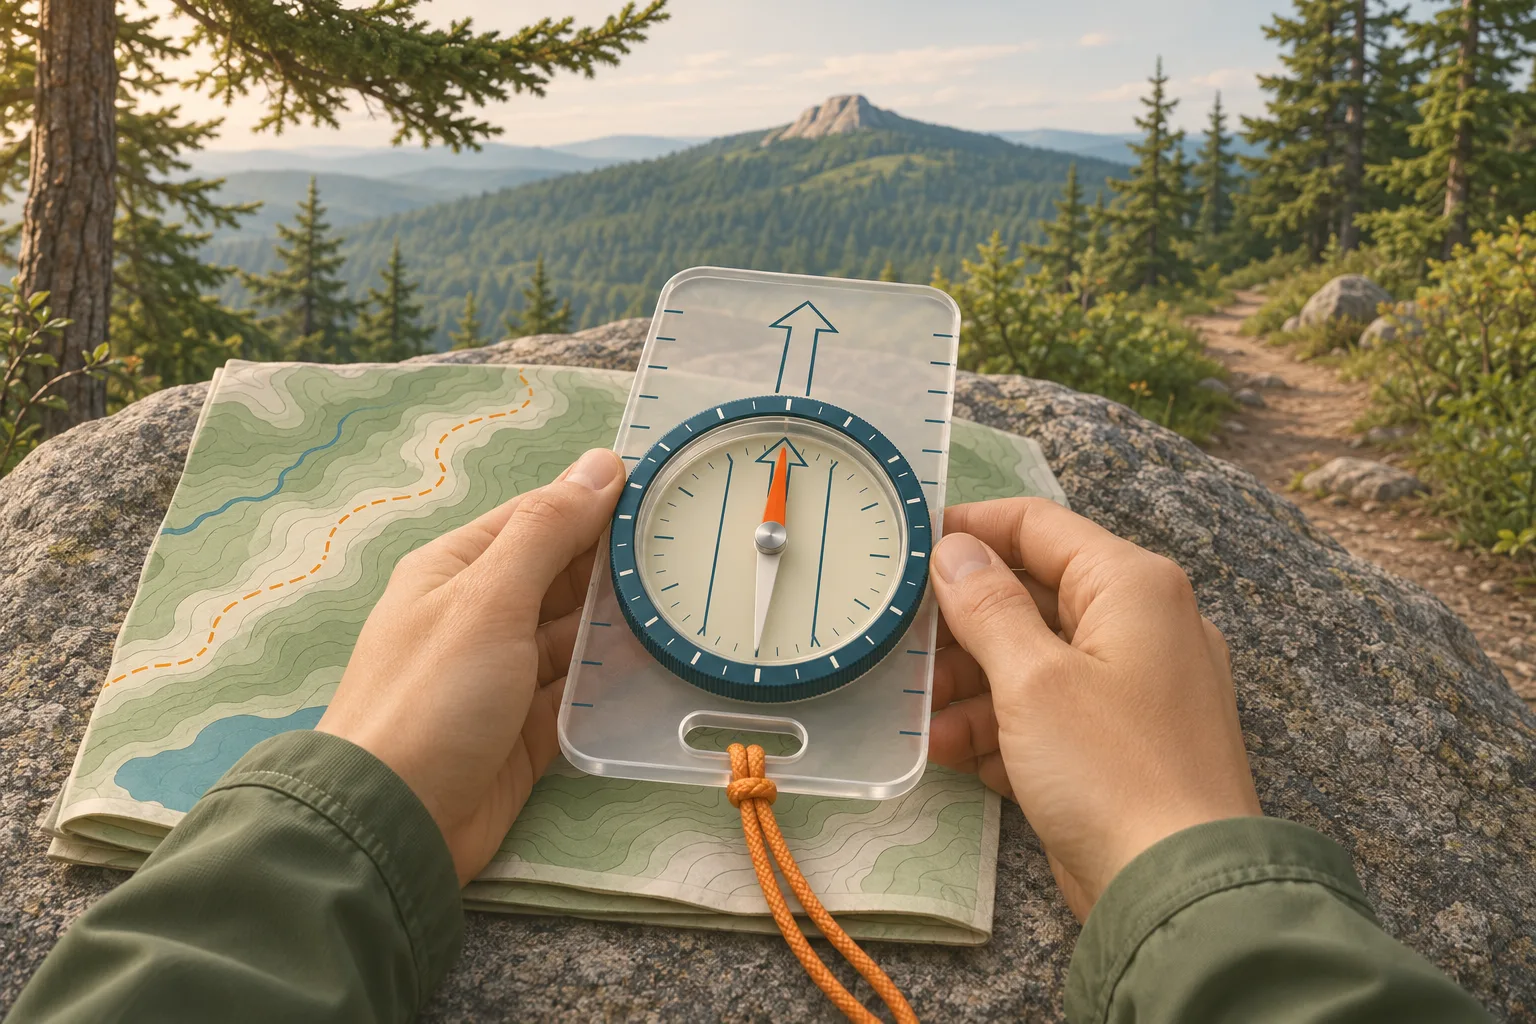
Parts of a baseplate compass
Most hiking guides, and this one, use a baseplate compass: a clear plastic plate with a turning dial on top. Learn four parts and the rest of the instructions make sense.
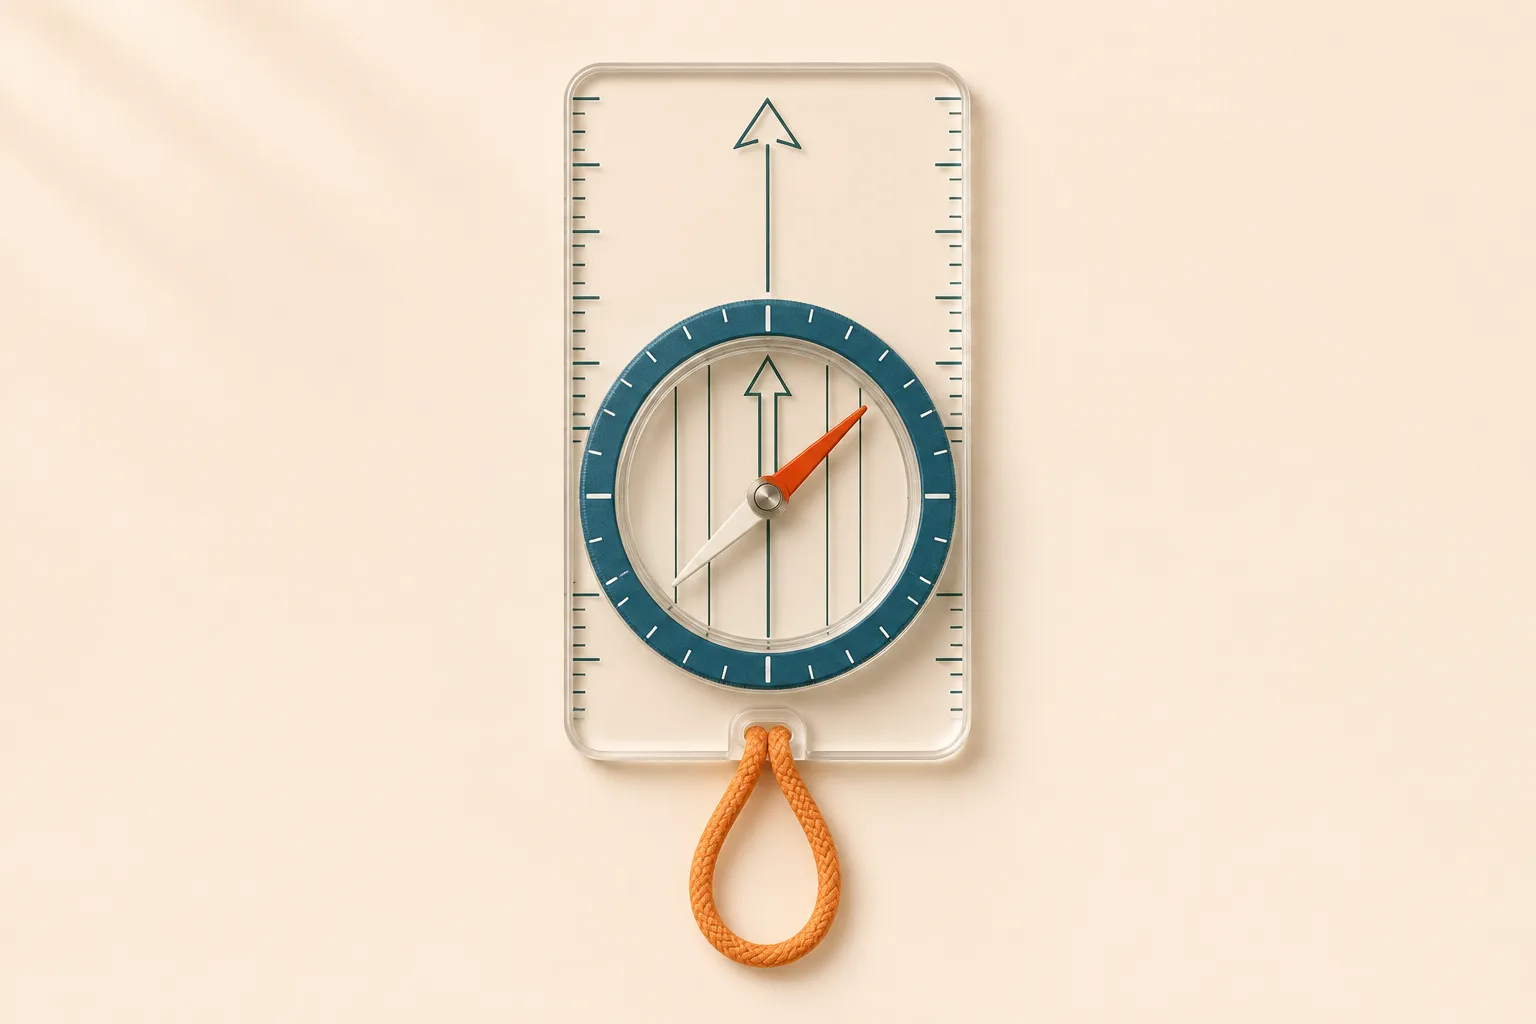
Direction-of-travel arrow. Printed on the baseplate. It points where you will walk.
Dial, or bezel. The ring you turn, marked 0 to 360 degrees. The degree number at the index line, where the travel arrow meets the dial, is your bearing.
Magnetic needle. The red end points to magnetic north. The other end is white or black.
Orienting arrow and lines. Printed inside the dial, turning with it. The arrow is the “shed” the red needle parks in; the lines match the map’s north–south lines.
How to read a compass
Hold the compass flat at waist height, travel arrow pointing straight ahead of you. Let the needle settle. The red end now points to magnetic north, whichever way you face.
Turn the dial until N sits under the red end. Now the letters on the dial match the ground. If you face north, east is on your right.
Read the number at the index line. That is the direction you are facing in degrees. North is 0 (or 360), east 90, south 180, west 270.
Every 45 degrees is a half direction. Northeast is 45, southeast 135, southwest 225, northwest 315. On a hike you read the number to the nearest degree or two.
That reading is a bearing: an angle measured clockwise from north. Map and compass navigation is simply writing bearings down, setting them on the dial and walking them.
Declination: magnetic north is not map north
Maps are drawn to true north, the geographic North Pole. The needle points to magnetic north, which sits somewhere else and drifts every year. The angle between the two at your location is the declination. In the lower 48 states it runs from about 15 degrees west in Maine to 15 degrees east in Washington, and it is close to zero along a line near the Mississippi. A compass that ignores it sends you off your line: each degree of error puts you about 90 ft to the side for every mile you walk (17 m per km), so 10 degrees is about 900 ft per mile.
Look up the current value. Enter your trailhead in the NOAA declination calculator. The diagram on an older map can be several degrees out of date.
Set it on the compass. On an adjustable compass, turn the small screw, usually on the back, with the key that comes with it until the orienting arrow points that many degrees east or west of the N mark. Your manual shows how. Once set, the dial reads true bearings and you never add or subtract again.
No adjustment? Do the arithmetic. To go from a map bearing to the compass: east declination, subtract; west declination, add. Hikers remember it as “East is least, west is best.” From the compass back to the map, do the opposite.
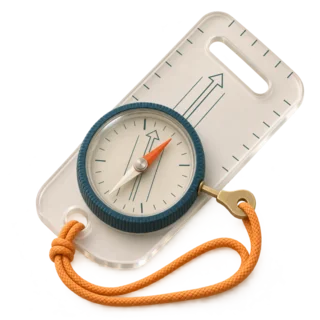
Example, east declination
Around Seattle, declination is about 15° east. A map bearing of 90 becomes 75 on a compass that is not adjusted.
Example, west declination
In the Great Smoky Mountains it is about 6° west. A map bearing of 90 becomes 96.
Map and compass: orient the map
Orienting the map turns it so that north on the paper points to north on the ground. Then the stream on your left is on the left of the map too, and you can check every landmark by eye.
Set the dial to N (0 degrees). If your compass has no declination adjustment, set the dial to the magnetic bearing of north instead: 345 for 15° east (360 minus 15), 15 for 15° west.
Lay the compass on the map. Put the long edge of the baseplate along a north–south line or the map’s side border, travel arrow toward the top of the map.
Turn the map, with the compass on it, until the red is in the shed. Keep them flat and away from your phone. The map is now oriented.
How to use a compass for hiking: take a bearing from the map
This is the core skill. You know where you are and where you want to go, and there is no trail between them, or the trail is under snow or lost in fog.
Mark start and target. Your position and the place you are heading for. A pencil line between them helps.
Lay the edge of the compass along that line. Travel arrow pointing toward the target. The map does not need to be oriented for this step.
Turn the dial until its orienting lines run parallel to the map’s north–south lines, N toward map north. Ignore the needle while you do this.
Read and write down the bearing. The number at the index line. On a compass without declination set, correct it now and turn the dial to the corrected number.
Lift the compass, hold it level and turn your whole body until the red is in the shed. The travel arrow now points at your target. Walk that way.
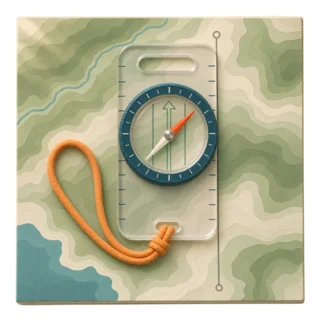
Edge on the line
The baseplate edge joins start and target, travel arrow toward the target.
Needle in the shed
Red needle inside the orienting arrow. If the white end is in the shed, you will walk the exact opposite way.
Take a bearing in the field and follow it
You can also take a bearing straight off the landscape, to a peak or a saddle you can see, then keep walking it after it disappears into the trees.
Point the travel arrow at the landmark. Compass flat and level, held close to your body.
Turn the dial until the red is in the shed. The number at the index line is the bearing to that landmark. Write it down.
Leapfrog close landmarks. With the red in the shed, pick a tree or rock exactly on the line, maybe 50–100 yards away. Walk to it, check the compass again, pick the next one. Looking down at the needle while walking makes you weave.
Count paces. Count every second step over 100 yards, a football field, before the hike. Uphill, in brush or on rough ground the count goes up, so recheck it on the kind of terrain you will walk.
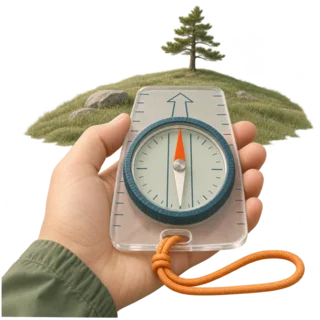
Sight the target
Travel arrow on the landmark, dial turned until the red is in the shed.
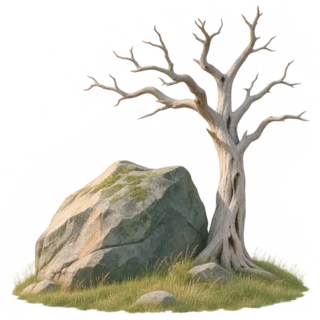
Walk to the next marker
A boulder, a snag, an odd-shaped tree. Something you will not lose.
Back bearing: the way back
The way back is the opposite bearing: add 180 degrees, or subtract 180 if the number is above 180. A bearing of 60 returns on 240. In practice you do not even need the arithmetic: keep the same setting and put the white end of the needle in the shed instead of the red.
Compass navigation tricks that forgive errors
Even good walkers drift a few degrees, and trees force detours. So we plan each leg so the error does not matter.
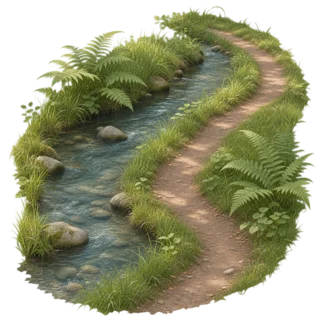
Handrail
A long feature you can follow: a stream, a fence, a ridge crest, the edge of a forest. Walk beside it and you cannot drift.
Catching feature
Something across your path just past the target: a road, a lake shore, a power line. If you reach it, you have gone too far.
Aiming off
Heading for a bridge on a stream? Aim deliberately 10 degrees to one side. When you hit the stream, you know which way to turn.
Attack point
A big, easy landmark close to a small target. Walk to the big thing first, then take a short, careful bearing.
Find your location with map and compass
A compass alone cannot tell you where you are. With two or three landmarks you can find on the map, it can. This is called triangulation, or resection.
Pick two or three landmarks you can name on the map. Summits, a lake end, a fire tower. Spread them out: lines that cross at a wide angle, roughly 60–90 degrees, give a small triangle.
Take a bearing to each. As in the field method above.
Draw each back bearing on the map. Correct each one for declination first if your compass is not adjusted. Lay the compass with the dial set, edge touching the landmark, orienting lines parallel to map north, and draw a line along the edge toward yourself.
You are where the lines cross. Three lines usually make a small triangle. You are inside it. Check that the terrain matches: a slope, a stream, a saddle.
If you are lost
Stop first. Sit down, eat something, and think before you walk anywhere. Scouts and park rangers teach this as STOP: Stop, Think, Observe, Plan. Try to find yourself on the map. Retrace only if you can see the way you came. If you cannot, stay put by default and call for help. Walk on a bearing only when you are sure of a big handrail or catching feature and its distance, such as the road you drove in on.
A compass will not tell you where you are. It only gives a direction. Without a map, landmarks or a known catching feature, walking a bearing can take you further from help. When in doubt, stay where you are, call 911 if you have signal, and use three whistle blasts.
How to use a compass without a map
Without a map a compass still gives two useful things: a steady direction and a way back.
At the trailhead, note the bearing of the road or the valley. For example, “the road runs north–south, I am walking east.” Walking west then gets you back to the road.
Walk a bearing in a straight line. Useful in fog or flat forest where people tend to walk in circles.
Return on the back bearing. White end in the shed, same dial setting.
What throws a compass off
A compass is a magnet that reacts to other magnets and to iron. Keys, a knife, a belt buckle or a phone next to it can all pull the needle, and so can power lines, bridges and some rocks. Silva also warns that storing a compass next to a phone or a magnet can reverse the needle.
Practice: a 20-minute triangle drill
The easiest place to learn is a park or a school field, before you need the skill on a trail. If you come back to your start, your compass skills work.
Drop a marker at your feet. A cap or a water bottle.
Walk 30 paces on a bearing of 0 degrees. Red in the shed, travel arrow ahead, leapfrogging a tree or a post.
Turn to 120 degrees and walk 30 paces. Then to 240 degrees and 30 paces. Three equal sides of a triangle.
Look for your marker. Within a few steps of it is a good result. We suggest doing it twice: once in the open, then among trees with longer legs.
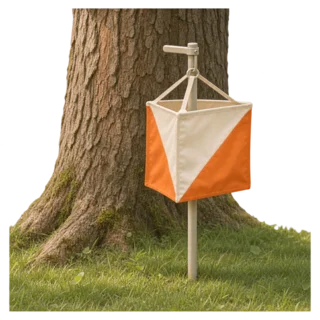
Orienteering
Orienteering clubs set courses with control flags in local parks. It is the fastest way to practice map and compass, and courses for beginners are short.
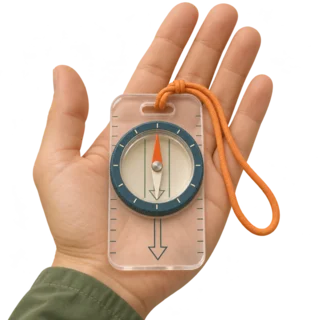
Out and back
Walk 50 paces on any bearing, then return on the back bearing with the white end in the shed.
Which compass for hiking
Our pick for a first compass is a plain baseplate model with adjustable declination: it does everything in this guide. Buy one balanced for the Northern Hemisphere, or one with a global needle if you also travel south of the equator: a needle balanced for the wrong zone tilts and can stick.
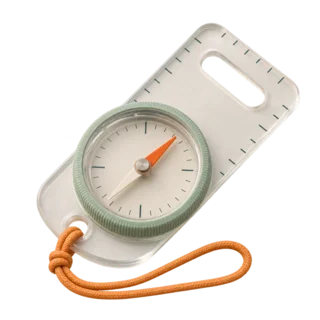
Baseplate compass
Light and clear, so you see the map through it. Look for adjustable declination and a liquid-filled capsule.
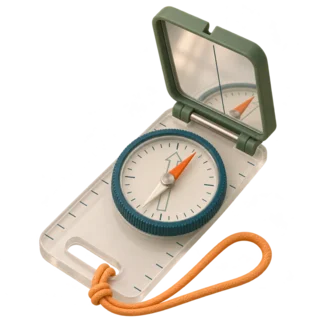
Mirror sighting compass
A baseplate compass with a folding mirror. You see the needle and the landmark at once, so field bearings are more precise.
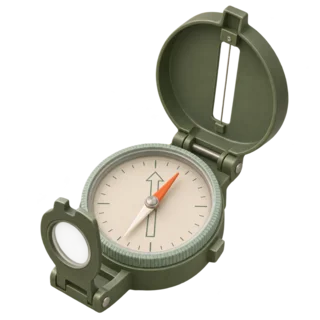
Lensatic compass
The metal military type. Good for sighting, awkward on a map because it has no clear baseplate.
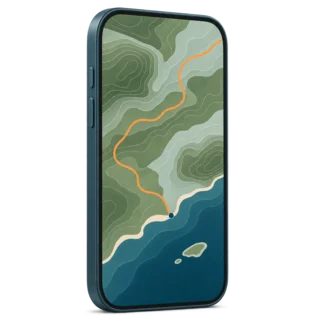
Phone compass
Fine for a quick direction. It needs battery, calibration and a phone held flat, so use it as a backup.
Phone compass, iPhone and Google Maps
The iPhone Compass app shows the direction the phone points; Apple says to hold it flat for accurate bearings and to use it “only for basic navigation assistance.” On Android, Google Maps shows a blue beam for the direction you face. If the beam is wide or points the wrong way, calibrate by moving the phone in a figure 8, as Google’s help page describes. Either way a phone compass reads magnetic interference just like a real one, and it stops when the battery does.
Compass questions
How do you use a compass properly?
Hold it flat at waist height, keep metal and your phone away, and set the declination for your area. To follow a direction, turn the dial to the bearing, then turn your body until the red end of the needle sits inside the orienting arrow. Walk where the travel arrow points.
Is east left or right?
On a map with north at the top, east is on the right and west on the left. Facing north on the ground, east is to your right.
What does the red mean on a compass?
The red end of the needle is the north-seeking end. It points to magnetic north. The white or black end points south.
What is a compass?
A compass is a magnetized needle that turns freely and lines up with the Earth’s magnetic field, so it shows the direction of magnetic north. Hiking compasses add a dial in degrees and a clear baseplate for use with a map.
Why does a compass point north?
The Earth behaves like a giant magnet. The needle lines up with its magnetic field, which runs roughly toward the magnetic north pole near the geographic North Pole. The pole moves slowly, which is why declination changes over time.
Do you need a compass for hiking?
The National Park Service lists navigation (“map, compass, and GPS system”) among the Ten Essentials. A compass has no battery to die, so it is the backup when your phone does.
Do people still use map and compass?
Yes: search and rescue teams, orienteers, wildland firefighters and backcountry hikers all still learn it. Phones fail from cold, rain and dead batteries. A compass has no battery, though metal and magnets can still fool it.
What is it called when you use a map and compass?
Land navigation, or map and compass navigation. When it is a timed sport with checkpoints, it is orienteering.
Can you use the compass on your phone for hiking?
For a quick check, yes. Calibrate it, hold the phone flat and away from other metal. Carry a real compass and a paper map too, because a phone compass depends on the battery.
What does “red in the shed” mean?
It is the reminder to turn until the red north end of the needle sits inside the orienting arrow, the outline printed in the compass capsule. Then the travel arrow points along your bearing.
Ready to practice on a real trail? Pick a route with clear landmarks and check the map before you go.