
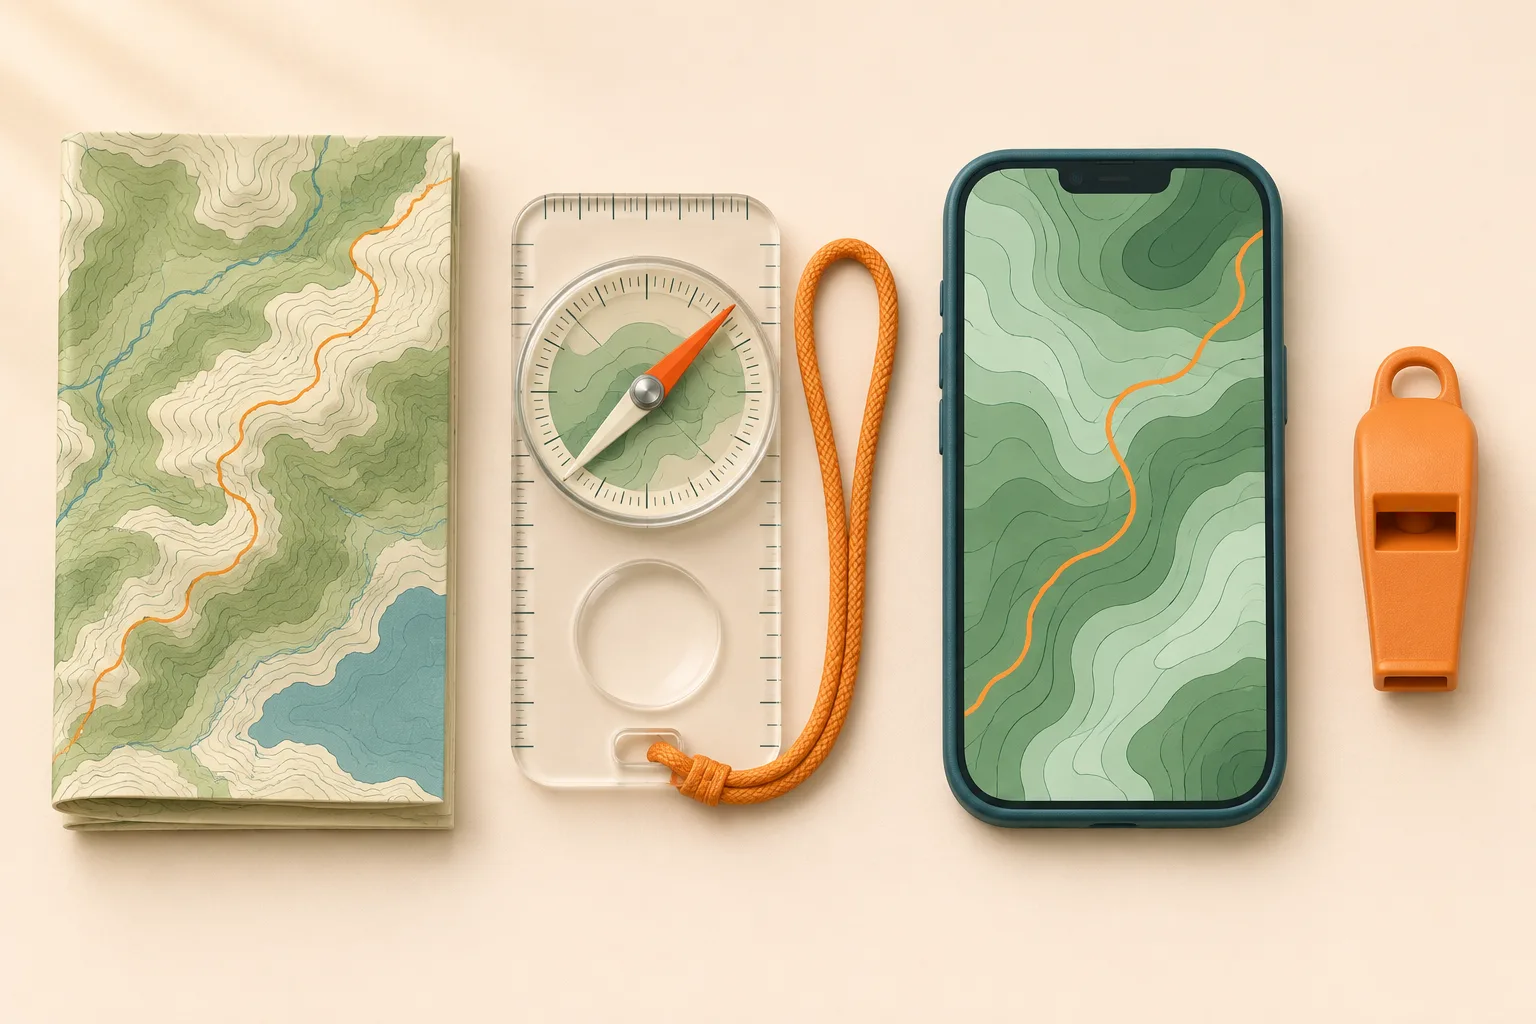
Hiking navigation tools
The National Park Service Ten Essentials list navigation first: a map, a compass or a GPS, knowledge of how to use them, and a physical map as backup. A phone or GPS shows where you are; a paper map shows the whole area, even when the screen is dead.
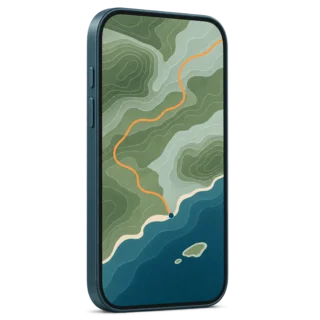
Phone with offline maps
Shows your position on a topographic map without signal, if the map was downloaded first.
Weak point: battery, cold and water.
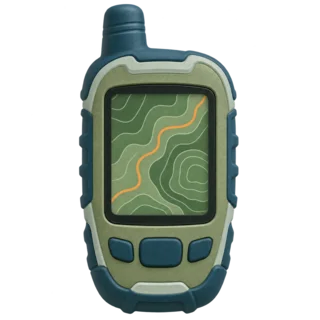
Handheld GPS or GPS watch
Compare the model’s battery rating, weather protection and maps before choosing one. Some watches show only a route line.
Weak point: a small screen and one more device to learn.
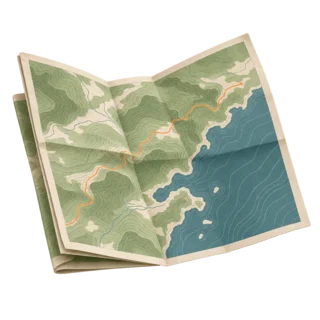
Paper topographic map
Shows the trail, terrain, water and exits at a glance. Needs no power.
Weak point: you must know where you are on it.
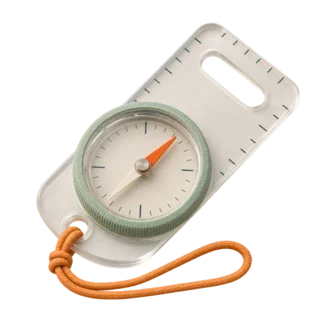
Baseplate compass
Orients the map and gives a direction when the trail or the view disappears.
Weak point: it takes practice.
Start with tools you can use. We recommend a tested offline map, a paper map and a compass you have practiced with. A dedicated GPS may offer features you need, such as buttons usable with gloves; practice with it before departure.
Navigation and emergency communication need separate plans. A map app tells you where you are but cannot call for help without signal. NPS Hike Smart advises not to rely on cell coverage and to consider a personal locator beacon for remote trips.
Prepare the route before you go
Spread the map out before you pack. Follow the route with a finger, including the way back: a loop that looks obvious on a screen may have several unsigned turns.
Study the whole route on a map. Note the distance, the climb, every junction, water sources and shorter ways out.
Download the map for offline use. Then switch to airplane mode at home and check that the map and your position still show.
Carry a paper map of the area. Use the official park or forest map, or print the route at a readable scale. Keep it dry.
Charge everything and pack a power bank. The NPS recommends an extra battery for your phone.
Leave a trip plan. Tell someone outside the group your route and when you expect to be back.
Set a turnaround time. Decide in advance when you will turn back, wherever you are.
Stay found on the trail
Practice on easy ground builds your navigation skills. Check the map at every junction, at each named landmark and whenever the trail looks different from what you expected. Small, early checks are easier than finding the way after an hour in the wrong direction.

Junctions
Stop, read the sign and compare it with the map before you turn.
Does the sign match the trail name on your map?
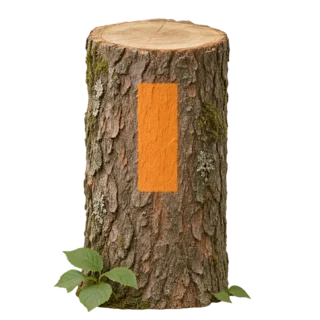
Blazes and markers
Check the park’s marker legend before you start. Colors and symbols differ between trail systems.
Notice when markers disappear or change.

Cairns and terrain
Follow cairns only where the land manager uses them as official markers. Compare rivers, ridges and peaks with the map.
Match the river’s position with its place on the map.
A junction taking longer to reach than expected is a reason to stop and check. Your pace may be slower than you planned. Retrace only when you can identify a safe way back; otherwise use the lost-hiker steps below.
Map and compass basics
A topographic map shows the shape of the land. Contour lines join points at the same height: lines close together mean steep ground, lines far apart mean gentle ground. Check the scale and the legend before you start, so you know how much ground an inch or a centimeter covers.

Direction-of-travel arrow. On the baseplate. Points where you will walk.
Rotating dial (bezel). Marked in degrees. Turn it to set a bearing.
Magnetic needle. The red end points to magnetic north.
Orienting arrow and lines. Inside the dial. Line them up with north on the map.
Orient the map first. Turn the map so that what is ahead of you on the ground is ahead of you on the paper. Match a visible landmark with its symbol on the map before choosing a direction.
Before you start: set declination. These steps assume an adjustable compass already corrected for local declination according to its manual. Without that correction, use the USGS instructions linked below or learn with an instructor.
Lay the compass on the map. Place its edge along the north–south map border, with the travel arrow toward map north. Turn the dial until N on the bezel points toward map north. Keep away from metal and your phone.
Turn the map and compass together. Keep the compass level. Turn both until the north-seeking needle aligns with the corrected orienting arrow, then compare the map with visible landmarks.
Use the right north reference. Magnetic north differs from true north; a map grid can differ too. Check the map’s north references and the current local value with the NOAA declination calculator. Follow the USGS map-orienting instructions and your compass manual for the correction. A grid line may not point to true north; check the map’s north-reference diagram.
Phone GPS and offline hiking navigation apps
Your phone GPS can locate you without cell service. To see the terrain behind the location dot, you need a saved map. The NPS app, for example, keeps working offline only if you saved the park before your visit.
Use airplane mode
Searching for a signal drains the battery fast. NPS Hike Smart suggests airplane mode until you need to call.
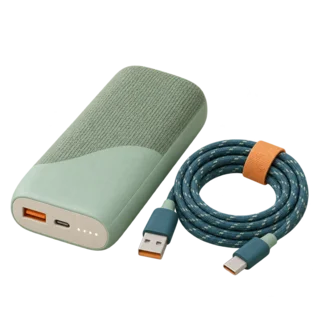
Protect the battery
Carry a power bank and cable. Keep the phone warm in an inner pocket on cold days.
Check the map against the land
Base maps can be wrong. The Great Smoky Mountains park warns about trails drawn in the wrong place.
Treat the location dot as an estimate. Great Smoky Mountains National Park warns that satellite reception and map accuracy have limits, especially under dense canopy and in deep valleys. If your dot jumps around, stop. Wait for the position to settle, then check it against the terrain before choosing a turn.
If you are lost: emergency steps
Stop walking. Take a breath. Before going anywhere, check for immediate danger and use the steps from the NPS Outdoor Emergency Plan.
Stop and think. Where were you last sure of your position? How long ago?
Try to find yourself. Use the map, compass, GPS and landmarks. If you can safely retrace your steps to that point, do it.
Call for help if you cannot. In the US, call 911 if you have signal. Give your coordinates if available, trail name, last known location and surroundings. Follow the dispatcher’s instructions.
Be easy to find. Stay put after calling or if you cannot reach help. Move only for an immediate threat to life. Use shelter and extra layers, conserve supplies and blow your whistle.
Your trip plan helps searchers. Your contact needs to know when to report you overdue and which route you planned. Update them if your plans change before departure.
Navigation check before you go
Navigation guides
This page is the overview. Each guide below covers one skill in depth.
Hiking navigation questions
Where can I get navigation maps for hiking?
Start with the park or forest manager’s current map and trail notices. For US terrain detail, the USGS topographic maps show contours and mapped features. Check coverage, date and scale, then print a readable copy of the whole route.
Can I use my phone GPS for hiking?
Yes. A phone is a capable GPS if the map is downloaded before you lose signal, the battery is charged and you carry a power bank. Keep a paper map as backup, as the NPS recommends.
How does GPS navigation for hiking work?
A GPS receiver estimates your position using satellite signals. A saved map lets you compare that position with the trail and terrain. Before you leave, test it: find your coordinates offline and check that your map covers the route and nearby exits.
Does GPS work without cell service?
Yes. GPS position comes from satellites, so your dot still moves without signal. The map behind it only shows if you downloaded it in advance.
Hiking GPS vs phone: which is better?
Use your phone if it has reliable offline coverage for the route and you have tested its battery use. Choose a dedicated GPS if you need features your phone lacks, such as buttons you can use with gloves. Check the model’s maps, battery rating and weather protection. Carry a paper map and compass either way.
Do I need a compass if I have a phone?
Yes. Carry a compass and paper map alongside your phone. Practice orienting the map before the hike. A compass gives direction; it cannot tell you your position by itself.
Is Google Maps good for hiking?
We would not use it as the only trail map. Check the actual route coverage and terrain detail. Carry a map with contour lines and trails, ideally the official map of the park or forest.
How should I choose hiking navigation apps?
Check that your route and nearby exits are covered offline, that the map shows terrain and trails, and that you can read your coordinates. Test download limits and any paid features before relying on the app. For a thru-hike, save every section and resupply exit, not just the first day.
What is the best free hiking navigation app?
In US national parks, the free NPS app provides park maps you can save for offline use. Check the park’s map detail against your route; a visitor map may not have the terrain detail needed for backcountry navigation. Elsewhere, start with the land manager’s recommended maps.
What navigation tools do I need for hiking?
A map you can read, a way to locate yourself using GPS or identifiable landmarks and a backup without a battery. Add a whistle, and for remote areas a satellite messenger or personal locator beacon.
Ready to plan a route? Pick a trail, study it on the map and check its difficulty before you go.