

What is magnetic declination?
True north points toward the geographic North Pole. A compass needle aligns with the local magnetic field. The horizontal angle between those directions is the declination, also called magnetic variation. East is positive; west is negative.
The needle follows the field where you are standing. NOAA explains why it does not aim directly at one distant magnetic pole. That is why a correction from a previous trip may be wrong for your next trail.
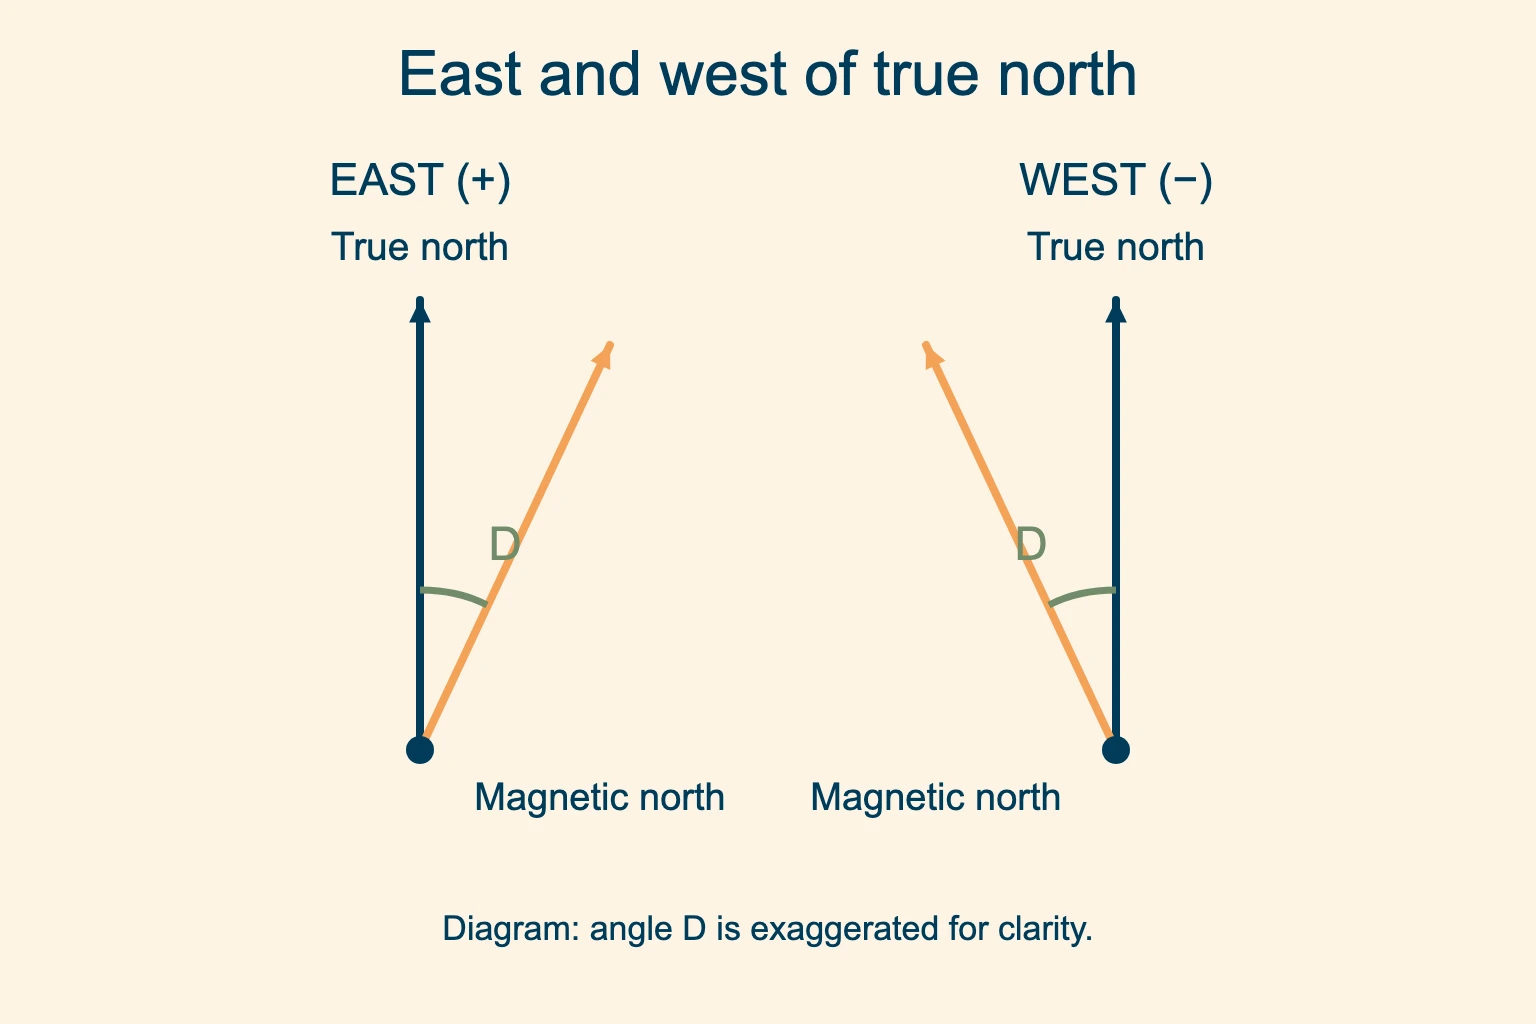
East, or positive. The magnetic direction sits clockwise from true north when viewed from above.
West, or negative. The magnetic direction sits counterclockwise from true north.
Always write the value with its letter: “12° E” is harder to misread than a bare “12.”
Find your current value with a declination calculator
Use the NOAA declination calculator for the place and date of your hike. A regional map gives an overview, but a coordinate lookup gives a value for your actual route. We recommend saving the result beside your route notes so it is available offline.
Choose a point on your hike. Use the trailhead or a point along the route. Enter its latitude and longitude, checking the N/S and E/W hemispheres.
Use the date of your hike. The field changes over time. An older map gives the value for its stated year.
Save the whole result. Record degrees, east or west, location and date. Keep any uncertainty or reliability warning with it.
A ZIP code or city search can help you find approximate coordinates. Check that the selected point is near your trail, especially if the hike is outside town. Use the same lookup for any trailhead, at home or overseas. Recheck it before the trip.
Read degrees and minutes correctly
The prime mark (′) means minutes of arc. There are 60 in one degree, so 12°30′ equals 12.5°, not 12.30°. Divide the minutes by 60 to convert them to decimal degrees. Keep the east or west label when you copy the result.
Match your rounding to the graduations you can actually read on the compass. Extra decimal places on a screen do not give a hand-held needle extra precision. NOAA warns that compass directions become unreliable near magnetic poles, where the horizontal field is weak.
How to adjust for magnetic declination
First, find out whether your compass has an adjustable correction, a fixed correction scale or neither. Turning the large bezel to set a bearing is a different action from setting a persistent offset. Your model’s manual tells you which part moves. If the parts are unfamiliar, start with our beginner guide to using a compass.
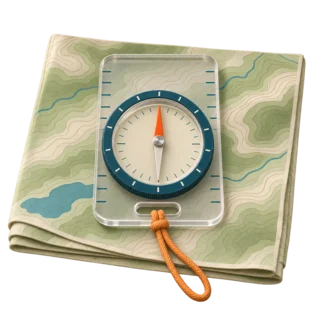
Adjustable compass
A separate adjustment shifts the orienting reference. Once set correctly, use true bearings without another arithmetic correction.
Unadjusted compass
Keep the correction at zero and convert each bearing between true and magnetic. Label the numbers in your notes.
Set an adjustable compass
The Suunto M-3 manual, section 4, gives a concrete example. Turn the compass over, insert its key in the adjustment screw and move the indicator to the required degrees east or west. Other models use different controls. Follow the E/W scale and your manual; there is no universal instruction to turn every screw clockwise.
Then leave that offset set while you dial individual bearings on the bezel. The magnetic needle still responds to the field; you have changed the reference used to read it. Check the setting again after traveling to a new region and before a later trip.
Correct once. If the adjustable compass is set for the local true-to-magnetic angle and you are using true bearings, do not add or subtract that angle again. Doing both introduces a second error.
Use a fixed correction scale
A fixed scale does not retain an adjustment. It gives you a marked offset at which to align the needle each time, as described in Suunto’s correction guide. Follow the instructions for your compass. Or ignore the offset scale, align the needle with the plain orienting arrow and use the manual conversion below. Do not combine the two methods.
Declination formula: true and magnetic bearing
For a compass with no correction set, use a signed angle D: positive for east, negative for west. A bearing measures clockwise from its stated north reference. The NOAA conversion is:
- Magnetic to true: true bearing = magnetic bearing + D.
- True to magnetic: magnetic bearing = true bearing − D.
Subtract east and add west when going from a true map bearing to an unadjusted compass. Reverse those operations when taking a magnetic field bearing back to a true-north map. A mnemonic without the direction of conversion is easy to misuse.
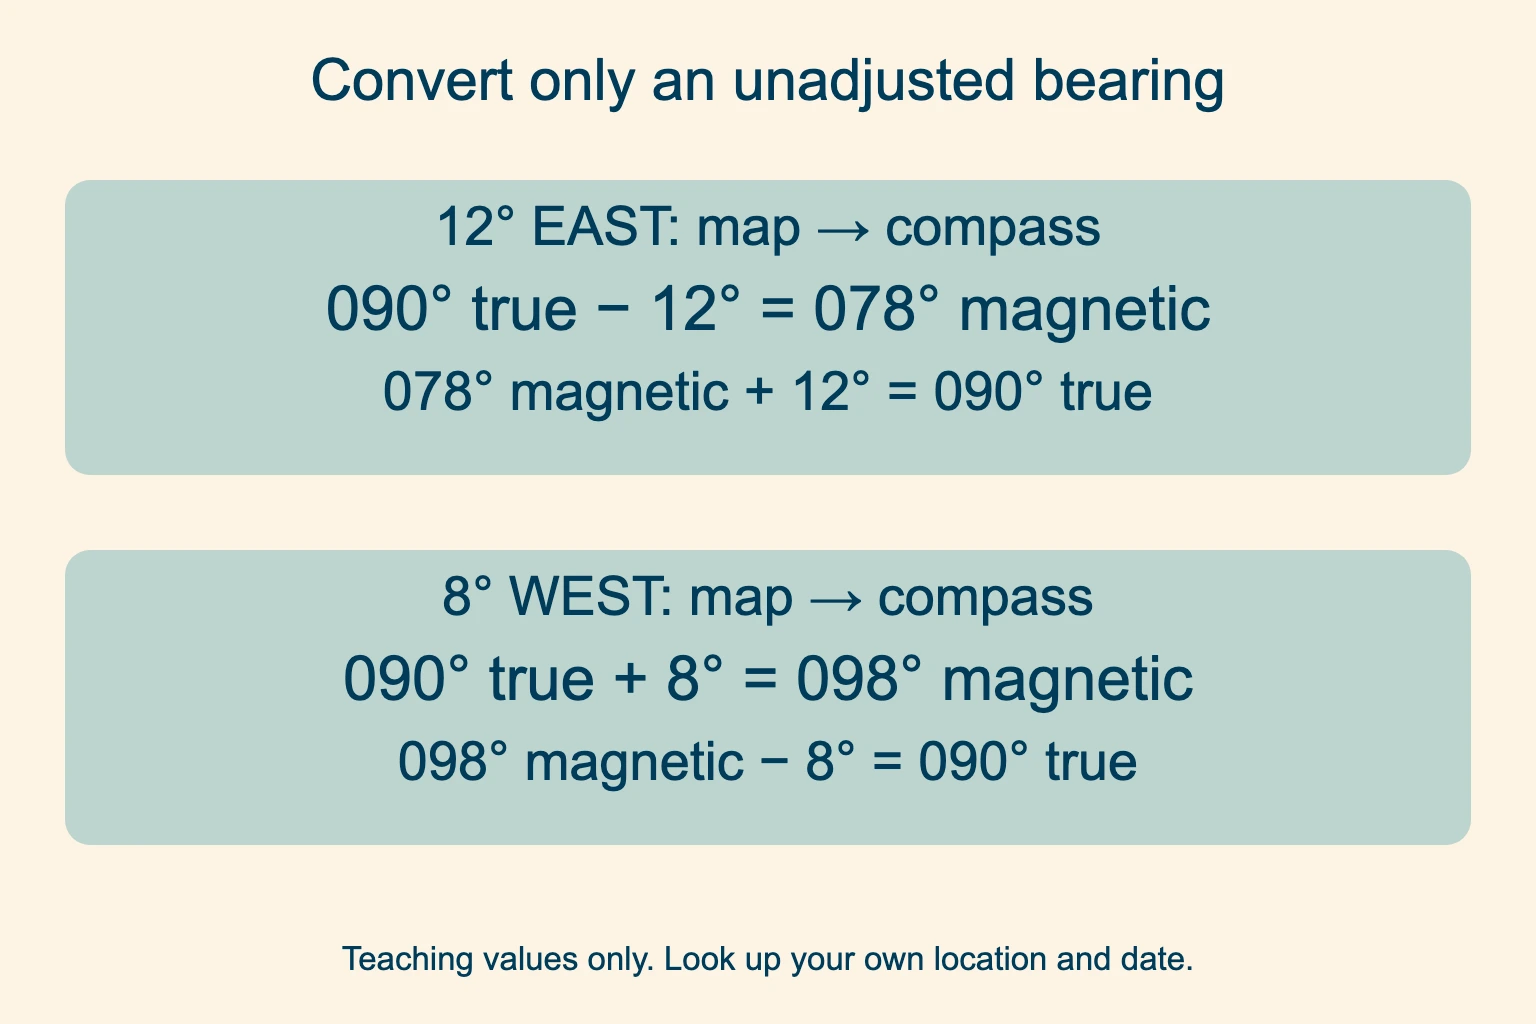
Map to compass. Start with a true bearing. At 12° east, subtract 12. At 8° west, add 8.
Compass to map. Start with an unadjusted magnetic reading. Add the east angle or subtract the west angle.
When the result crosses north
Keep the result within one full circle. Add 360° to a negative result or subtract 360° from a result of 360° or more. For example, a true bearing of 005° with an east correction of 11° gives −006°, which is 354° magnetic. Going back: 354° + 11° = 365°, or 005° true.
Before using the number, say what it means: “354 magnetic.” We recommend labeling every route-card bearing this way, particularly when people in the group use different compass setups.
True north, grid north and map north
Look at the north diagram in the map margin. On USGS maps, the star denotes true north, GN denotes grid north and MN denotes magnetic north. USGS explains these three arrows and why they may diverge.
Grid north follows the map’s rectangular coordinate grid. The angle between it and true north is grid convergence. If you measure a bearing against grid lines, you need the grid-to-magnetic angle for that map and location. The NOAA true-to-magnetic value alone does not include this extra angle.
Identify the line before using it. A longitude meridian gives true north; a UTM grid line gives grid north. Read the map legend and use the correction for the reference you actually measured against. Do not assume every vertical printed line is a true-north line.
Orient a true-north map with a corrected compass
USGS gives this method: place the baseplate along the north–south map border and align bezel north with map north. With the correct local offset already set, rotate the map and compass together until the north-seeking needle sits in the shifted orienting arrow. Keep the baseplate steady on the map and hold the compass level.
Use the bezel’s north mark for the map alignment, because the orienting arrow has been shifted by the correction. Compare the terrain with the paper before walking. Our guide to reading a topographic map explains the contours and landforms to look for.
How far off can a small error take you?
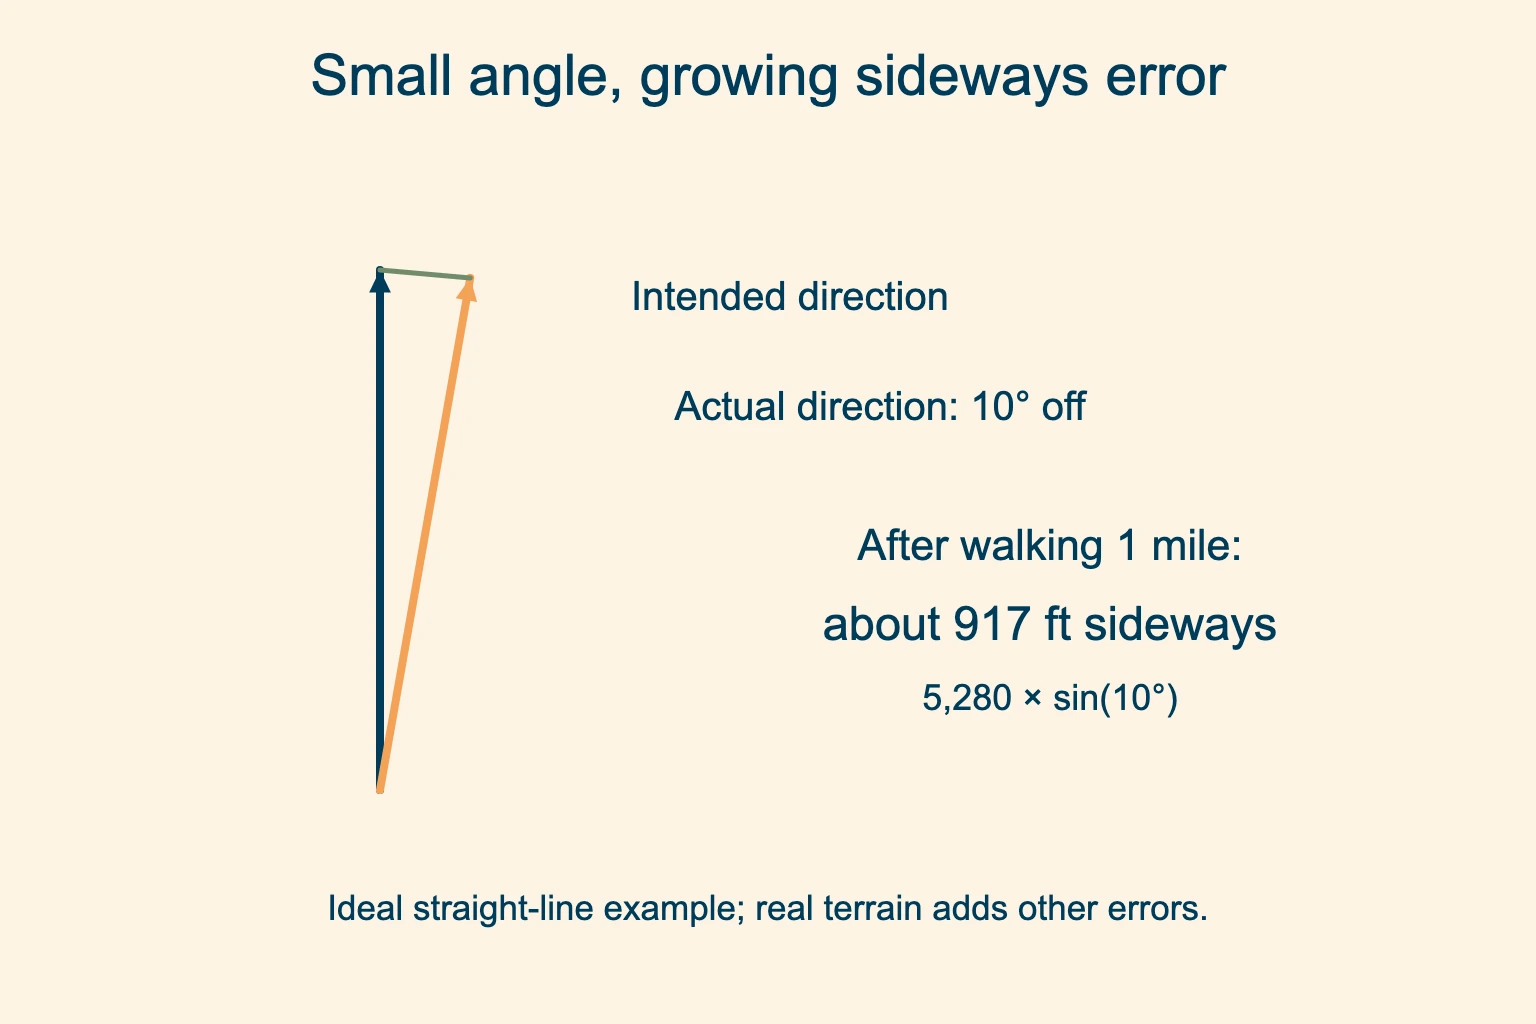
Even an angle that looks small on a compass can make you miss a narrow trail junction. In an ideal straight-line example, walking one mile at a heading 10° off the intended direction leaves you about 917 feet sideways from that line. The calculation is 5,280 × sin(10°). Actual travel adds errors from steering and terrain.
Check distance and landmarks. A bearing tells you a direction. Use distance and terrain features to identify the right junction.
Stop when terrain disagrees. Recheck your position and setup from a safe place before continuing into uncertain ground.
Does the value change over time?
Yes. Earth’s field changes with both location and time. An annual change printed beside an old map value describes a rate for that place and period; it is not one universal yearly adjustment. Get a current lookup instead of extending an old rate indefinitely.
A zero value means magnetic and true north align there at that time. It does not mean the equator has zero correction everywhere. Near magnetic poles, a horizontal compass can become unreliable. NOAA’s geomagnetism FAQ explains the limits.
Inclination and deviation are different
Inclination, or magnetic dip, is the field’s vertical angle. The horizontal correction discussed here cannot fix a needle that is not properly balanced for where you use it. Check your model’s needle balance zone; some are balanced for one hemisphere, while others have a global needle. Suunto explains its balancing systems.
Deviation is an error caused by nearby magnetic influences. Phones, magnetic closures, vehicles and metal structures can disturb a reading. Move away from them and repeat the measurement. A local correction cannot cancel interference from the phone beside your compass.
Mountaineering Scotland warns that strong magnets can also damage a needle’s polarity. Before leaving home, compare your compass against a known bearing or a known-good compass, keeping the instruments apart. If it remains inconsistent away from interference, use a known-good spare and have the faulty compass checked.
Match your phone or GPS to the compass
Read the north-reference setting
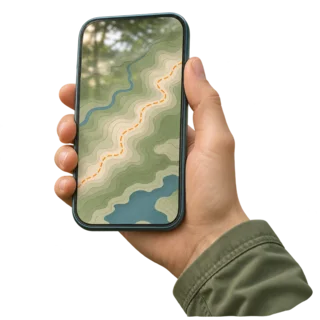
A device can display true or magnetic headings. Confirm which one the app uses before transferring a number.
Match the receiving compass
True bearings suit a compass correctly adjusted to true north. Magnetic bearings suit an unadjusted compass.
USGS demonstrates the pairing with a destination due north: a correctly adjusted compass can use the GPS true bearing directly; an unadjusted compass can use the GPS magnetic bearing directly. No extra manual conversion is needed when the references already match.
Automatic correction in an app does not physically adjust a separate compass. Keep the devices apart while reading the needle, and check the displayed reference after changing apps or settings.
Compass correction questions
Do I add or subtract declination?
For a true map bearing going to an unadjusted compass, subtract an east angle or add a west angle. For an unadjusted compass reading going back to true north, reverse the operations. If your compass already has the correct adjustment set, do not correct again.
How do I find the value for my location?
Enter coordinates near your route and your hiking date in NOAA’s calculator. Save the degrees and the east or west label. A city or ZIP-code lookup is a starting point; confirm that the coordinates match the area you will walk.
Which way do I turn the adjustment screw?
Follow your compass manual and its E/W indicator. Mechanisms differ between models, so a generic clockwise rule can set the wrong sign. The large bearing bezel is separate from a persistent correction control.
Do you adjust for it on an orienteering map?
The IOF specification defines magnetic north lines for orienteering maps. Check the map legend and event instructions. Use magnetic north lines with an unadjusted compass; a true-north correction would add an error.
What is true north and magnetic north?
True north is the direction toward the geographic North Pole. Magnetic north is the horizontal direction of the local magnetic field, which a freely moving compass needle follows. The angle between them depends on where and when you measure it.
Practice before the trail. Use a familiar open place, identify the north reference and compare the map with visible terrain.