
Daypack packing diagram
This layout is for a day hike. The shoulder straps mark the back of the bag. Treat it as a guide to where weight goes; your pack may have different pockets.
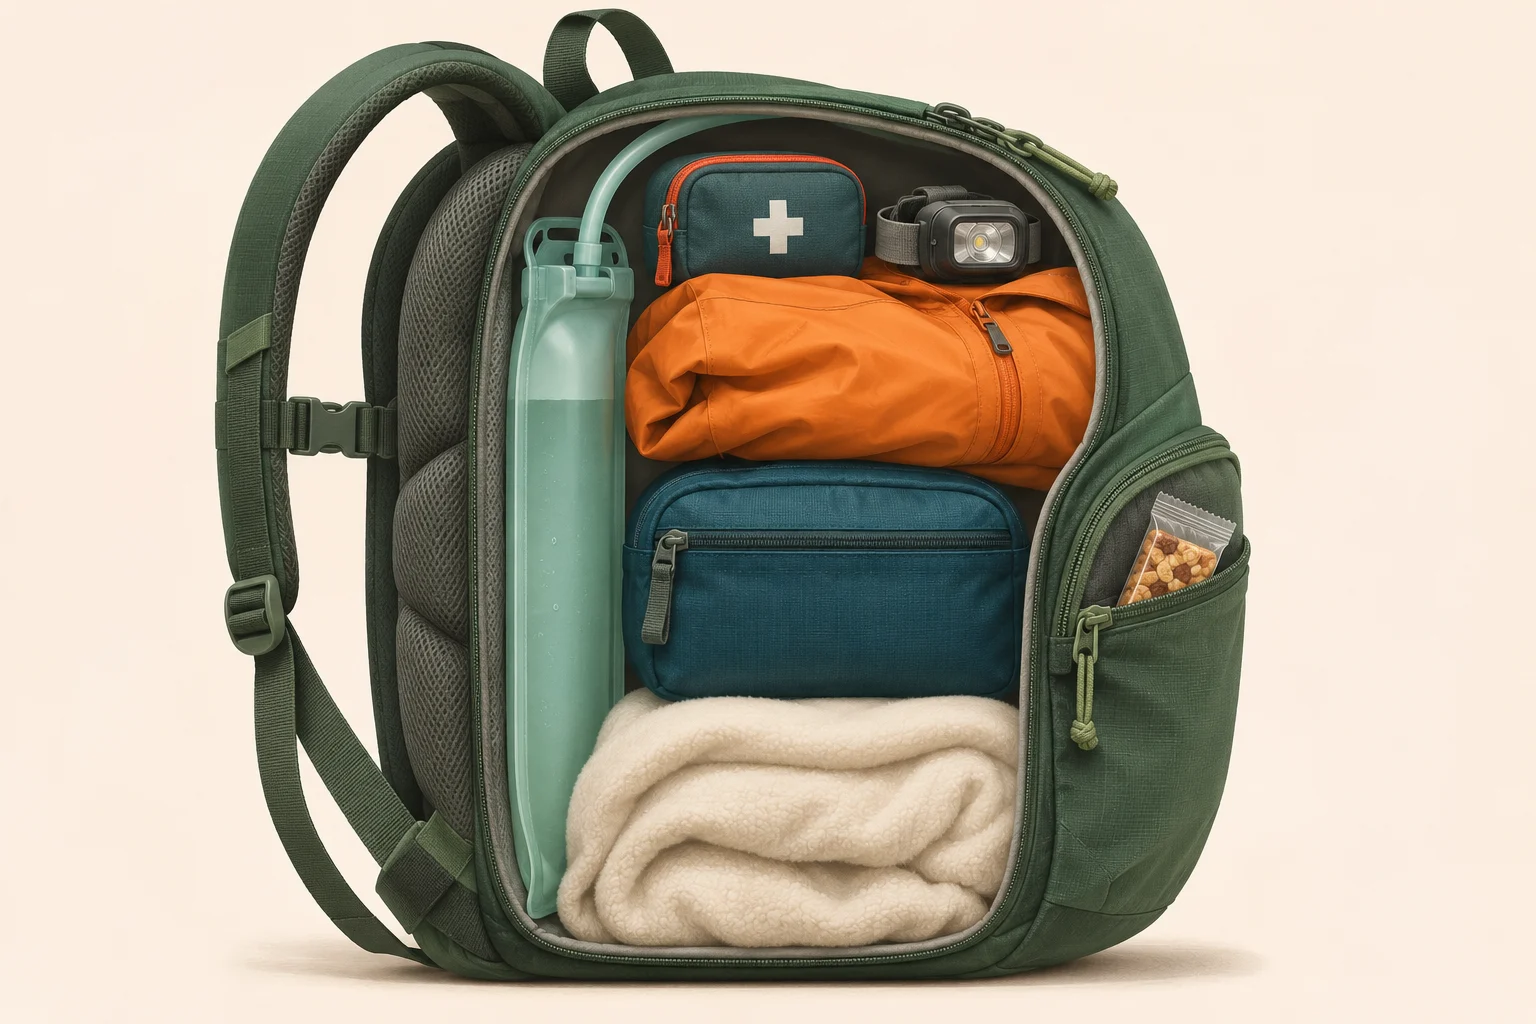
Near the back: dense kit. A reservoir in its sleeve, lunch and other heavy items close to the padded panel. Avoid a heavy lump far out in the front.
Bottom and gaps: soft kit. Dry spare layers cushion the load.
Top: things you may need next. Rainwear, first aid and headlamp stay easy to find. Keep each in a recognizable pouch or pocket.
Pockets: frequent use. Navigation, snacks and water where you can reach them safely. Secure small valuables in a zipped pocket.
REI’s packing guide supports the dense core, balanced sides and accessible pockets. For this daypack version, spare layers replace the sleeping gear in an overnight layout.
No special pockets? Use the same order in the main compartment. A simple bag can work if it holds your day hike checklist kit securely and carries comfortably when full.
Pack your daypack in this order
Lay out the complete kit first. Check you have everything for the route before you start packing.
Fit the water system first. Fill and close the reservoir, check for leaks and put it in its intended sleeve before filling the main compartment. Route the hose without a kink. Bottles can go into secure side pockets later.
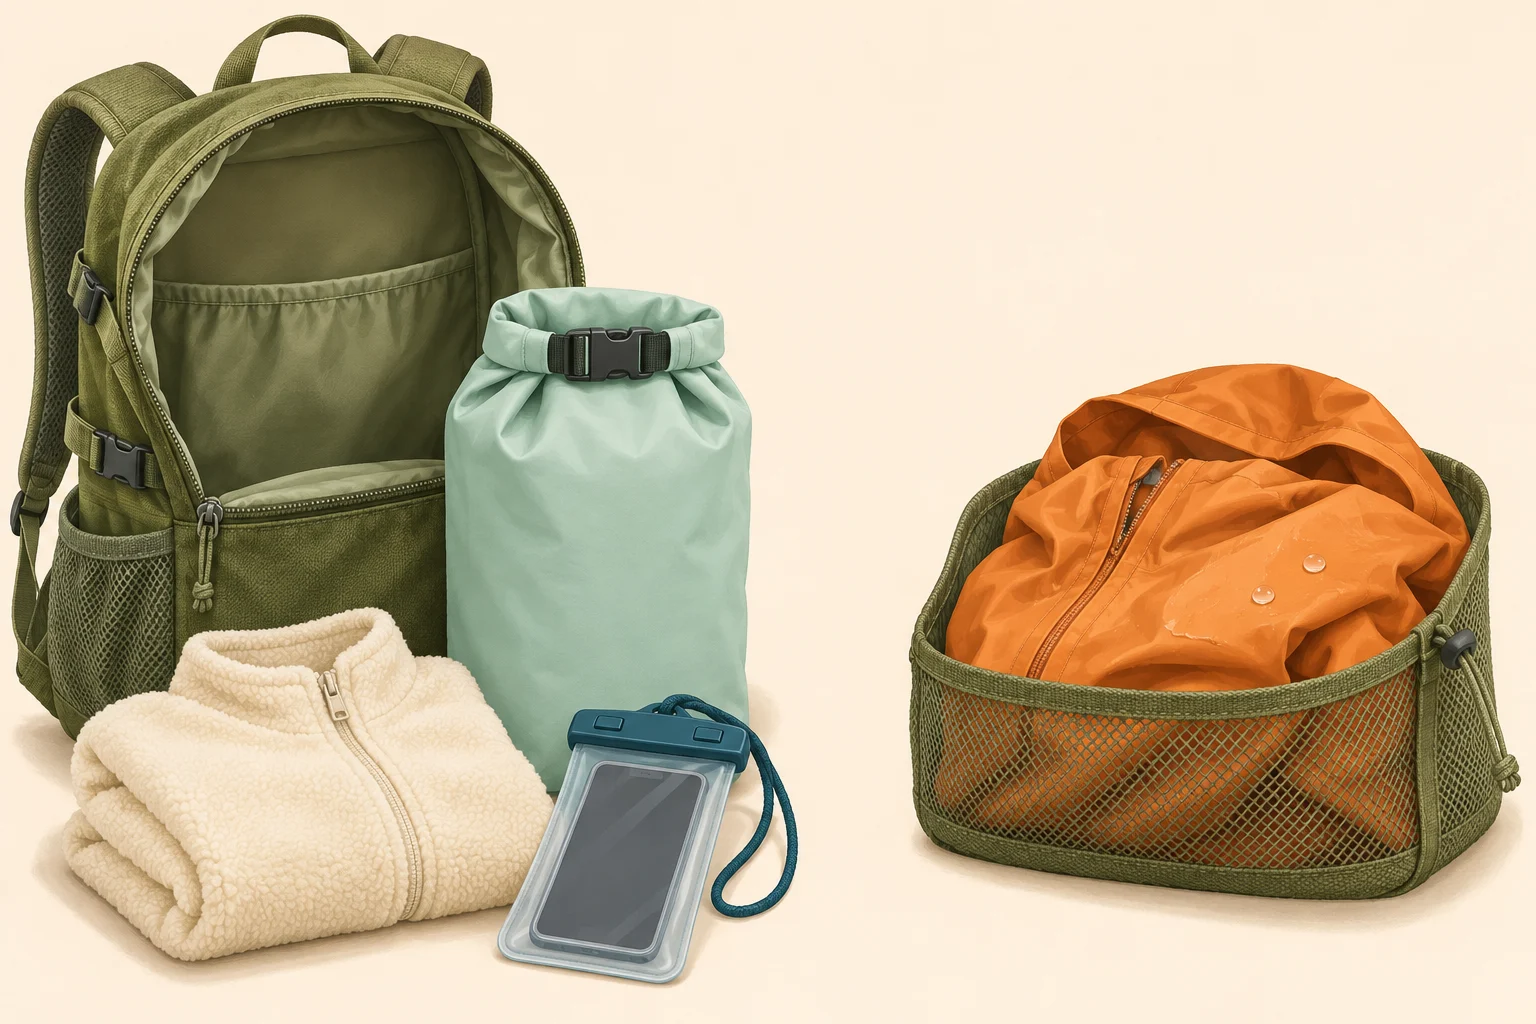
Protect spare layers. Put dry clothing into a closed liner or waterproof bag. Set less-used soft kit at the bottom; leave the layer you expect to need soon accessible.
Build a stable middle. Place lunch and other dense kit near the back panel. Fill gaps with soft gear so the load cannot roll around. Keep hard corners from pressing into your back.
Finish with quick access. Put rainwear near the opening. Give first aid and the headlamp an obvious home. Put a snack and navigation where you can find them without spreading the contents on the trail.
Close and secure. Close every zip and pocket. Snug the compression straps without crushing food or squeezing the reservoir. Tuck away loose strap ends.
There is no single correct pocket for every item. The American Hiking Society recommends adapting the arrangement to your equipment while keeping balance and access.
Place water without losing balance
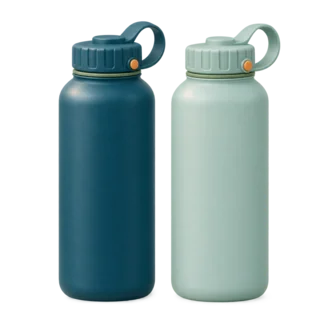
Using bottles
Use pockets that hold them securely. Spread the weight across the bag; two bottles need not be identical, but the pack should not pull to one side. Stop to drink if reaching behind feels awkward.
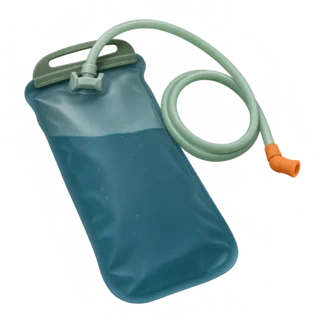
Using a reservoir
Use the pack’s reservoir sleeve where provided, close to your back. Follow its hanging and hose-routing instructions. Test the closure and bite valve before packing dry kit around it.
Water is often the heaviest thing in a daypack, so where it sits decides most of the weight distribution.
Balance changes as you drink. If the bag starts leaning, redistribute what remains at a safe stop.
Plan the water amount for your route, conditions and available sources before choosing containers. Do not remove needed water just to meet a weight target.
Keep dry gear dry
A cover helps shed rain, but it does not replace protected storage for spare clothing and electronics. The Appalachian Mountain Club treats dryness as one of its four packing principles.

Protect inside
- Dry spare layers: close them in a waterproof bag or liner.
- Phone, paper map and power: protect them separately while keeping navigation accessible.
- Small supplies: group them so you can find them without emptying the bag.
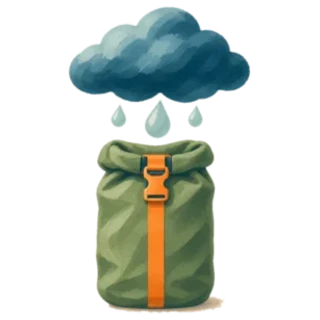
Separate wet gear
- Wet rainwear: keep it away from dry insulation.
- Outer pocket: a mesh or stretch pocket keeps a wet shell away from dry kit.
- At home: unpack and dry the bag and contents; do not leave damp gear sealed inside.
Check that the liner closure still closes after packing. Keep the rain shell outside the sealed dry-clothing bag so you can reach it when rain starts.
Wear the loaded pack and fix the load
Put on the fully loaded pack. If it has a load-bearing hipbelt, position and tighten it according to the maker’s fit instructions, then adjust shoulder straps. A thin webbing waist strap mainly steadies a small bag; do not expect it to carry the load like a padded hipbelt.
Adjust the sternum strap without restricting breathing, and use load lifters if the pack has them.
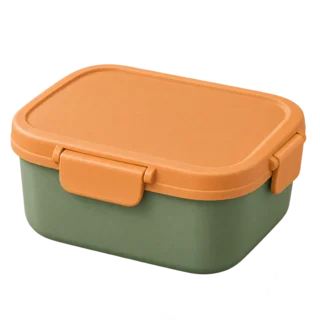
Pulling backward?
Move dense items closer to your back. Check whether a bulky object is forcing the heavy kit outward.
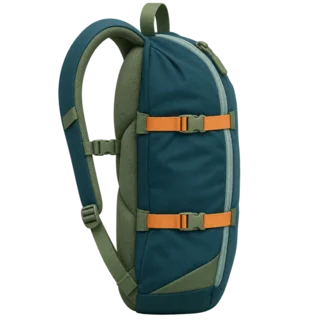
Swaying or leaning?
Even out the sides, fill empty spaces and snug the compression straps. Secure dangling items inside.
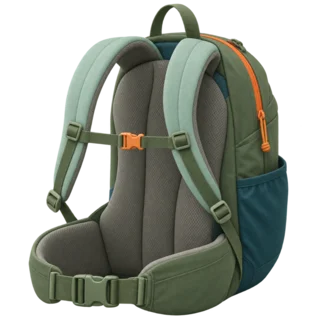
Digging in or too heavy?
Reposition hard corners and check the fit. If the necessary kit still carries poorly, change the pack or choose a less demanding outing.
Keep the outside quiet. Strap trekking poles to the pack’s pole loops or attachment points. Avoid loose bottles, mugs or other items that swing or catch on branches.
Check before you go
Walk with the full load, turn and step up and down somewhere safe. These checks test the arrangement; they do not replace route planning or a complete gear list.
Hiking backpack packing questions
Where should the heaviest items go in a hiking backpack?
Close to your back, centered in the main compartment. In a daypack, water and food often make up much of that weight. Keep them stable rather than piled high or pushed into the outer front. Use the intended reservoir sleeve if your pack has one.
What goes at the bottom of a daypack?
Soft spare gear that you do not expect to use first. Protect dry clothing in a liner. A day hike does not need a sleeping bag just because overnight packing diagrams show one there.
Can I use a regular backpack for hiking?
It can work for a suitable day hike if it holds your kit securely, keeps it dry and stays comfortable when fully loaded. Test access and balance at home. A laptop compartment is not automatically a reservoir sleeve; follow the bag maker’s instructions.
How heavy should a hiking backpack be?
As light as the route allows, and no lighter. No single percentage of body weight fits every person, so we do not give one. On a day hike, water is usually the biggest part: each litre weighs about 1 kg (2.2 lb). Add layers for the forecast, food and the ten essentials, then remove optional duplicates. If the necessary load still carries badly, change the outing or the pack.
How should I pack clothes in a hiking backpack?
Roll or fold them, whichever fits your bag. For this layout, keeping dry clothing protected and using soft items to stabilize the load matters more than the folding method. Do not compress everything so tightly that you cannot reach a needed layer.
Is this the same as packing for an overnight hike?
The balance principles carry over, but an overnight trip adds sleeping equipment, shelter and often cooking and food-storage requirements. Use a separate overnight checklist and a suitable pack; this daypack diagram is not a complete overnight packing plan.
Try the load before the trail. Pack your actual kit, then use the checklist to check access and balance.