
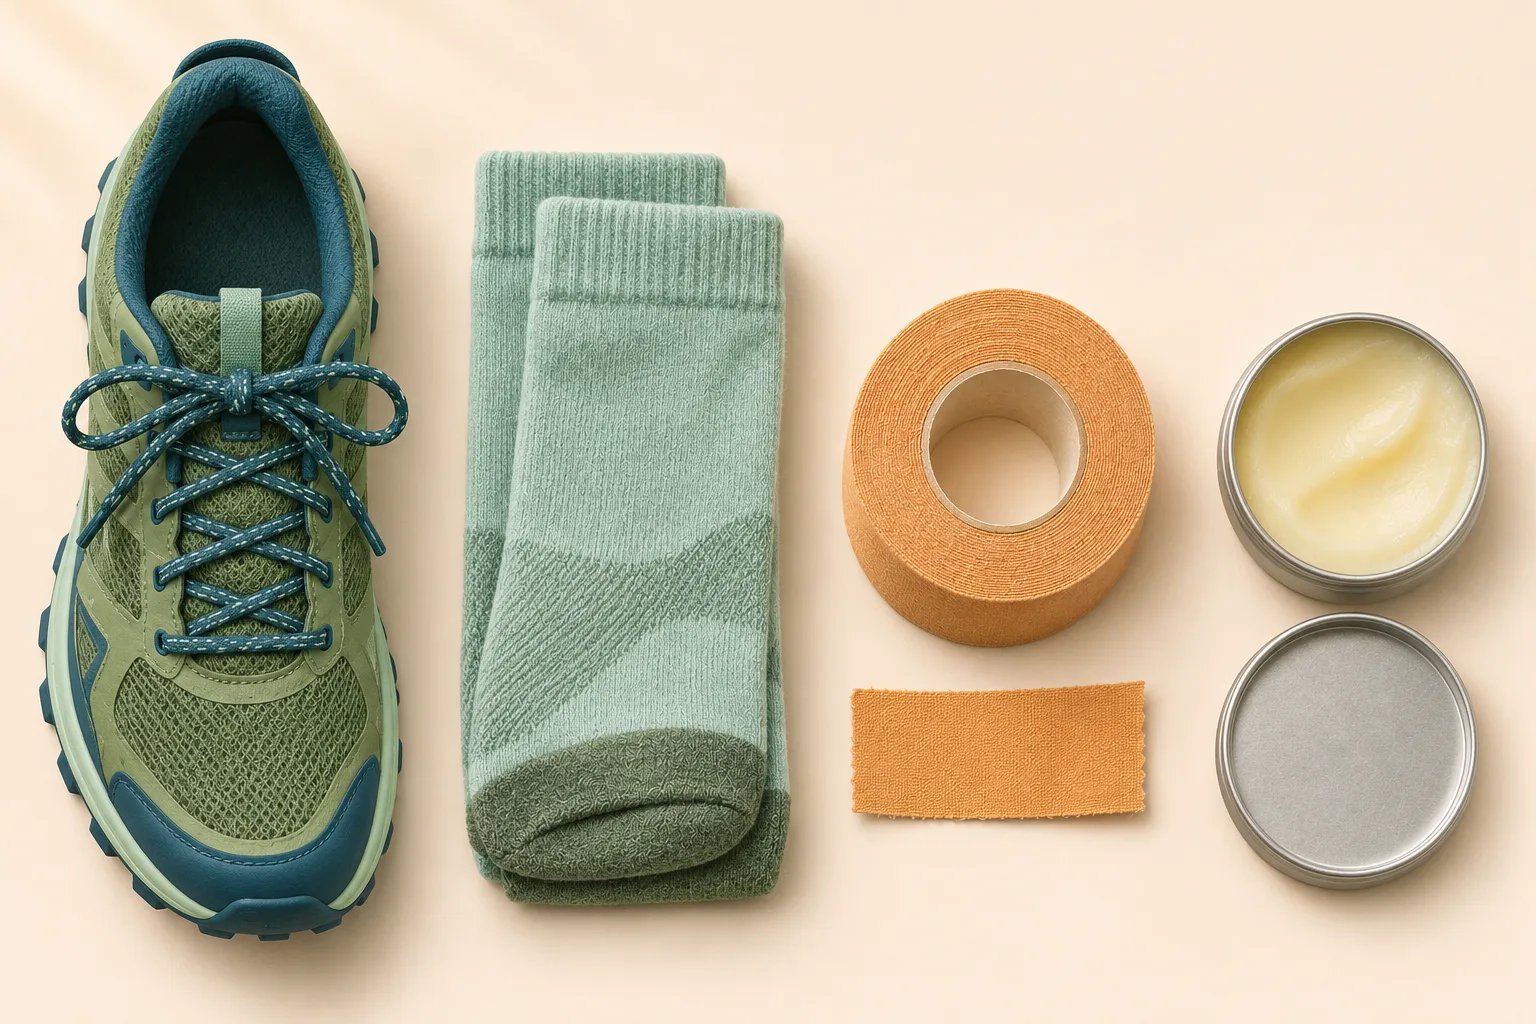
Why hiking blisters form
Rubbing plus moisture plus time. Each step moves your skin a little against the sock and the shoe. Sweat or a wet trail softens the skin; heat and a long descent add to the load. A blister usually starts as a warm, tender, red patch, the hot spot. The American Academy of Dermatology recommends preventing that rubbing and stopping when skin turns red or sore.
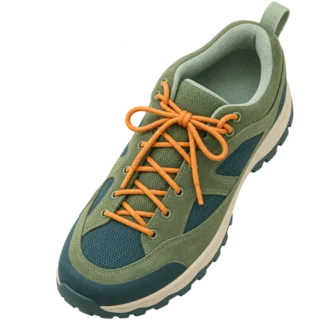
Movement
A heel that lifts, a foot that slides forward downhill or a seam that presses in the same place.
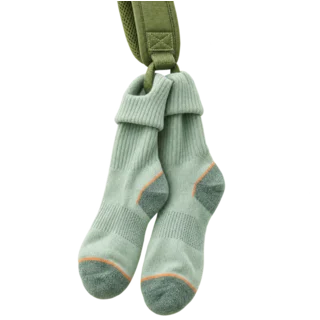
Moisture
Sweaty socks, a creek crossing or wet grass. Damp skin blisters more easily than dry skin.
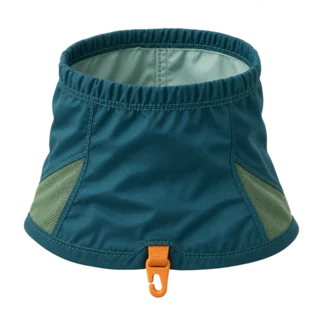
Grit and pressure
Sand, small stones and a wrinkled sock create a single pressure point that rubs on every step.
Ask why it happened last time. If you keep getting blisters in the same place, the shoe shape, the sock or the lacing is usually repeating the same rub. Fix that cause first; tape helps, but it does not replace a shoe that fits.
Fit and break in your shoes
Your heel should stay put and your toes should not hit the front. The AAD advises shoes that are neither too tight nor too loose. Try them later in the day, with the socks you will hike in. Walk downhill or down stairs: if your toes jam, look for more length or a different shape.
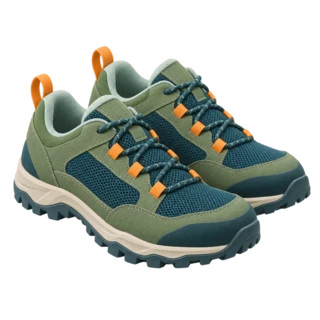
Good signs
- Heel locked: little or no lift when you walk uphill.
- Toes free: they can wiggle and do not hit the front downhill.
- No hard edge: no seam or tongue pressing on one spot.
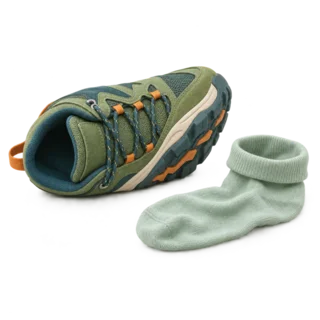
Warning signs
- Heel slip: the back of the shoe moves up and down on every step.
- Pinch: the little toe or the sides feel squeezed.
- New pair: worn for the first time on a long hike.
Break them in gradually. NHS guidance suggests wearing new shoes for short periods until they are comfortable. Start around the house, then on short walks and a shorter hike with your loaded pack. If one spot keeps getting warm, the shoe may not suit your foot.
Lock the heel with lacing
A heel-lock (runner’s loop) through the top eyelet holds the heel back without over-tightening the forefoot.
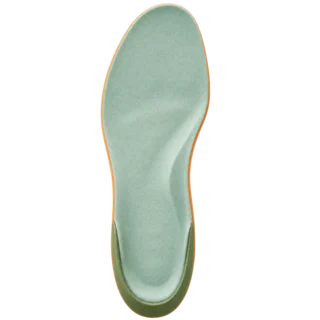
Check the insole
A worn or shifting insole lets the foot slide. Make sure it sits flat and is not folded at the heel.
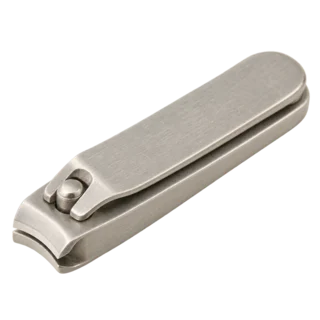
Trim toenails before the trip
Long nails catch the sock and press against the shoe on descents. Trim straight across a day or two before.
Choose socks and manage moisture
Wear synthetic or wool socks that fit without wrinkles. The AAD recommends nylon or moisture-wicking socks; NHS advice adds moisture-wicking sports socks for exercise and changing socks often if your feet sweat. Cotton socks hold moisture against the skin, so they are a poor choice for a hike.
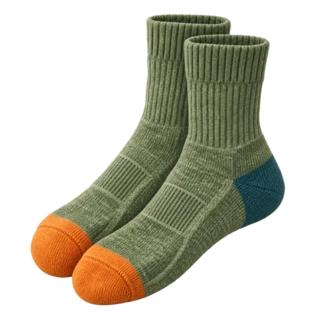
One good pair, tested
Test the thickness in the actual shoe. A sock that bunches under the heel or toes causes the problem it should prevent.
A dry spare pair
Change into it at lunch or after a creek. The American Hiking Society suggests drying the damp pair on the outside of your pack.
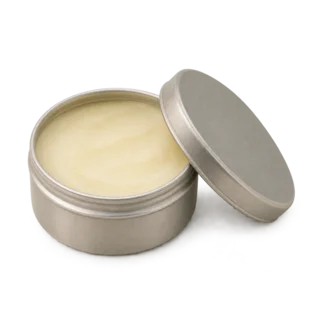
Powder or balm on problem areas
The AAD notes that powder or petroleum jelly reduces friction. Test a product on a short walk before relying on it.
Liner socks help only with room to spare. A thin liner under a hiking sock lets the layers rub against each other instead of your skin. It only helps if the shoe still has room; a squeezed foot rubs more.
Protect known trouble spots
Cover the spot before it hurts. If you have blistered on the same heel or toe before, protect it at the trailhead. The American Hiking Society recommends wrapping blister-prone areas with athletic tape before hot spots appear. The AAD suggests moleskin or other soft bandages, applied securely.
Clean and dry the skin. Tape does not stick to sweaty or lotioned skin. Wipe the area and let it dry first.
Cut tape to size and round the corners. Square corners lift and roll in the sock. Rounded corners stay flat for longer.
Smooth it on without wrinkles. Each fold becomes a new pressure edge. Flex the foot into its standing position while you apply it, so the tape does not pull when you walk.
Pull the sock on without dragging the tape. Check the edges after the first mile and press down anything that starts to lift.
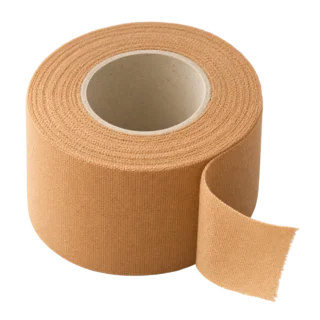
Thin tape for tight spots
Athletic or rigid tape suits heels and toes where there is little room in the shoe. Carry a few pre-cut pieces.
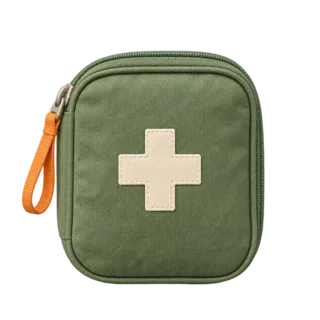
Moleskin or a soft bandage
Adds a soft layer over a sensitive area. Keep it with small scissors in your first aid kit.
Do not use duct tape on open skin. The American Hiking Society warns it may promote infection over an open blister.
Prevent blisters on heels, toes and the bottom of the foot
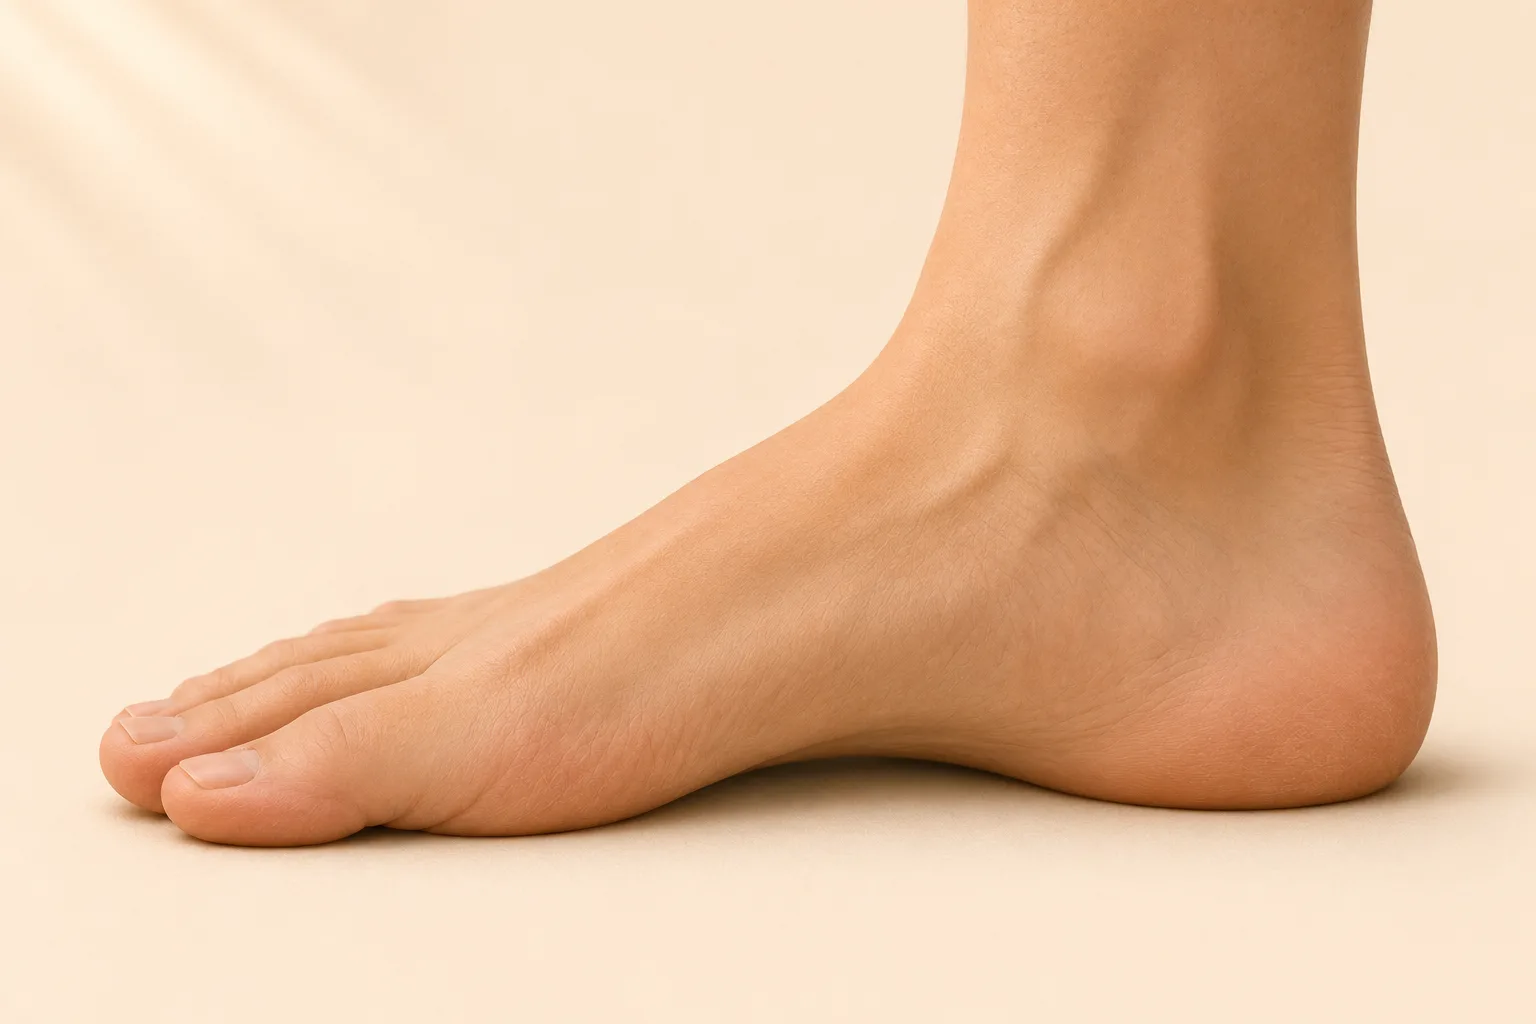
Heel. Usually heel lift. Try heel-lock lacing, a better-fitting heel cup or tape over the back of the heel.
Toes and between toes. Often the toes hit the front on descents or press together. Tighten the lacing over the instep before going downhill, trim nails and consider toe protection or balm between toes.
Ball and bottom of the foot. Heat and moisture on long or rocky days. Keep socks dry, check that the insole is flat and take short breaks to let the feet cool.
Sides and little toe. Pinching from a narrow shoe. A wider shape or different lacing works better than more tape.
Act on a hot spot during the hike
Do not wait until the next break. The American Hiking Society describes a hot spot as a reddish, tender spot and recommends treating it immediately. The AAD says to stop if you feel pain or the skin turns red.
Stop at a safe place. Take off the shoe and sock. Look at the spot rather than guessing.
Remove grit and smooth the sock. Shake out the shoe and the sock. Even a grain of sand under the sock can do it.
Dry the foot. Let the skin air for a few minutes. Change to your dry pair if the sock is damp.
Cover the spot. Apply tape or a soft bandage to the clean, dry skin before it blisters.
Fix the cause. Re-lace, tighten the shoe before a descent or loosen a pressure point. Then check it again after a short distance.
If a blister forms anyway
Protect it and keep it intact. Leave the skin over the blister in place and cover it to reduce rubbing. NHS advice is not to burst a blister yourself, not to peel the skin off a burst one, and to avoid the shoes that caused it until it heals. Plan a shorter route or turn back if walking makes it worse.
Get medical advice for signs of infection. Seek care if the blister is very painful, keeps coming back, or the skin looks infected: hot, red around the blister or with yellow or green pus. If you have diabetes or reduced feeling in your feet, check your feet carefully and contact your health care provider about any blister; CDC guidance explains why foot injuries need extra care.
This guide covers blister prevention on day hikes. It is not a substitute for medical advice about wound treatment.
Check your feet before you go
Hiking blister questions
Why do I keep getting blisters while hiking?
The same spot usually means the same cause: a heel that lifts, toes that hit the front, a sock that wrinkles or damp feet. Check the fit, try different lacing or socks, and protect that spot before the next hike.
Do two pairs of socks prevent blisters?
Sometimes: see the liner sock tip above. Test the combination in your shoes on a short walk first.
Is it better to tape my feet before hiking?
Yes, if you know where you usually blister. Apply it to clean, dry skin without wrinkles. It does not fix a shoe that does not fit.
Moleskin or tape: which is better?
Both reduce rubbing. Thin tape suits tight areas such as heels and toes; moleskin adds a softer layer. The best choice is the one that stays on your skin; test it on a short walk.
What is the best way to prevent blisters while hiking?
Find your own most common cause first. For most hikers it is a heel that lifts on climbs or toes that hit the front on descents, so fit and lacing come before tape. Then stop at the first hot spot.
How do I prevent blisters on long hikes?
Use tested shoes and socks, change into dry socks during the day, take short breaks to air your feet and stop at every hot spot. The longer the hike, the more these small checks matter. The same habits apply on multi-day routes and long walking days.
Can I keep hiking with a blister?
On a day hike you can often walk out if the blister is covered and the pain is manageable. Choose the shortest safe way back. Seek care if it is very painful or shows signs of infection.
Should I cover a blister or let it air out?
On the trail, cover it to protect it from rubbing and dirt. Keep the skin over it intact. At home, follow medical advice if it bursts or does not heal.
Shoes ready? Check the rest of the kit. Use the day-hike checklist, then pack your first aid items where you can reach them.