
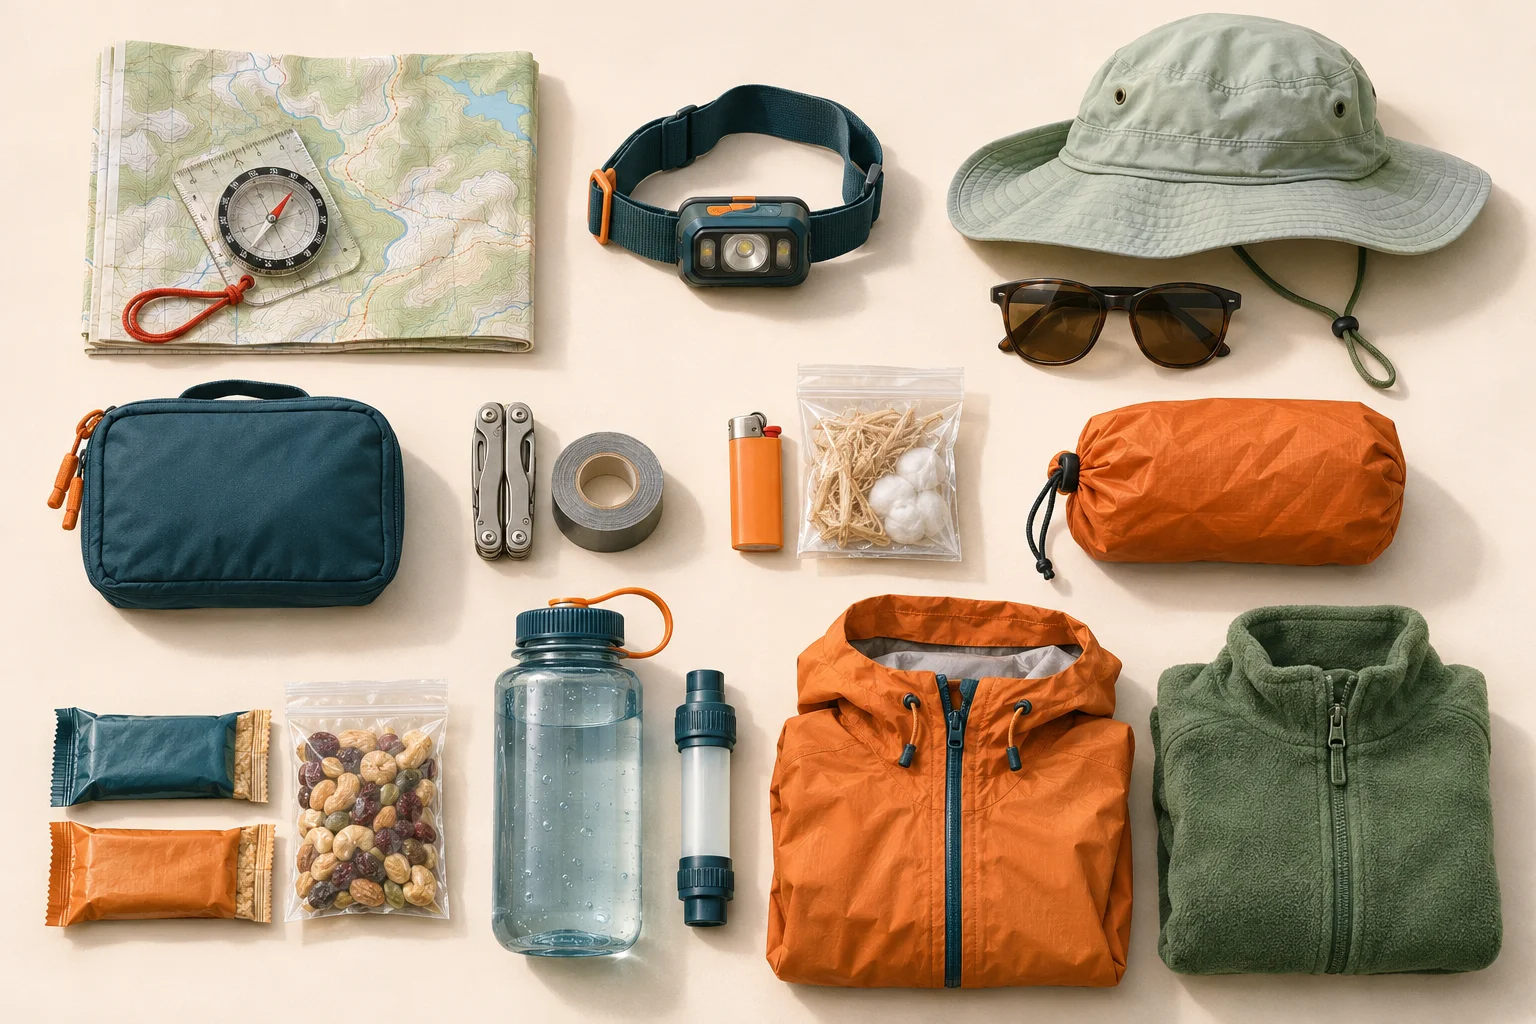
A short walk can become a long wait if someone cannot continue. The ten essentials for hiking give you a way to check what you would use while finding your position, dealing with a minor problem or waiting for help. It follows the systems approach developed by The Mountaineers and described by the National Park Service.
We recommend laying the equipment out by function before packing it. That makes gaps easier to spot than looking into a full bag. For clothing, footwear and the rest of a complete outing, use our separate day hike packing list.
Ten essentials for hiking: printable checklist
Tick a system after checking its contents and condition. The checklist saves your progress in this browser; use Print for a paper copy or your browser’s Save as PDF option.
These categories overlap. An emergency blanket might live in your first-aid pouch but still cover the shelter function. Conversely, several navigation apps on one phone all depend on the same device.
1. Navigation: map, compass and offline backup
Carry a map that covers your route and possible exits, protected from rain, with a compass you know how to use. Add offline digital mapping if you use a phone or GPS. Open the downloaded area before leaving reception and check that the detail you need is actually available.
A useful home test is to point out the trailhead, your intended destination and the junction where you would turn back. Can you find those on paper as well as on the screen? Practice the transfer in our map and compass guide. A route line by itself tells you little about cliffs, river crossings or alternative paths.
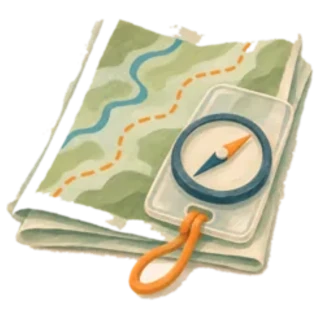
Keep the phone charged.
Carry the charging cable that fits your device and protect the power source from weather.
If you cannot explain the return route before starting, choose an easier walk or get help with the plan.
2. Sun protection: cover skin and eyes
Pack sunglasses with UV protection, sunscreen and a hat. Clothing can cover skin that would otherwise need repeated sunscreen application. Keep sun protection available beyond summer; exposed terrain and snow also deserve attention. The Washington Trails Association includes eye protection and sunscreen in its year-round essentials.
Read the sunscreen label for application and reapplication instructions. Put it somewhere you can reach at a break instead of beneath everything in the pack. Check that the sunglasses fit securely when you look down at the trail.
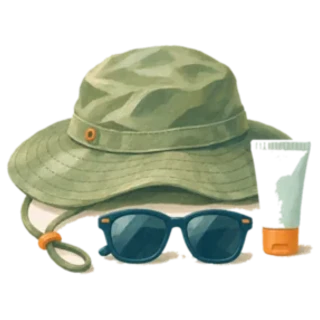
Pack for the exposed section.
A shaded trailhead can lead to an open ridge. Review the whole route when choosing your hat, clothing and eye protection.
3. Extra clothing: warmth when you stop
The clothes comfortable for walking uphill may be inadequate while sitting still in wind or rain. Choose extra clothing for the coldest plausible conditions on your route, including a late return. Bring insulation as well as protection from the weather; check whether your shell is waterproof or only wind-resistant.
A simple packing question is: what would I put on if I had to stop here? Make that answer more specific than “a jacket.” A warm layer, rain shell and hat serve different purposes, and the right combination depends on the outing.
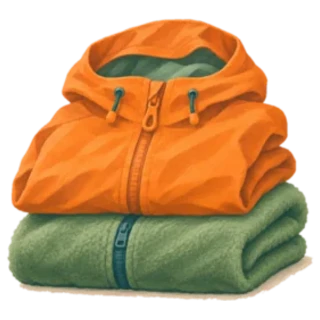
Try the layers together.
Check that the shell fits over your insulation and that you can reach closures with gloves on. Fix fit problems at home.
The WTA clothing guidance favors wool or synthetic layers over cotton for wet hiking conditions. Protect the spare layers inside the pack so you have dry clothes to put on when you stop.
4. Illumination: a headlamp and spare power
A headlamp leaves your hands free while reading a map or handling equipment after dark. Bring one even when your planned finish is in daylight. Before each hike, test the light and pack compatible spare power. A phone flashlight draws on the same battery you may need for navigation or communication.
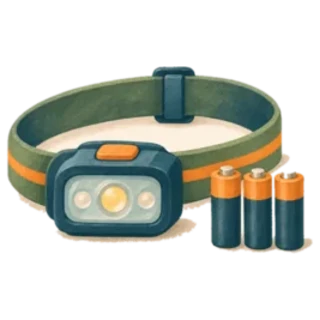
Test the controls in the dark.
Find the switch and brightness settings without looking. Confirm that the spare batteries fit, or that your rechargeable model works with the cable and power bank you packed.
Keep the light accessible before dusk. If the trail becomes difficult to follow, stop and reassess your position rather than letting the headlamp draw you farther into uncertain terrain.
5. First aid: supplies you know how to use
Choose a first-aid kit for the group, trip length and personal medical needs. Replace expired or used supplies. Include your regular medication and follow your clinician’s instructions for carrying and using it. The contents should be familiar before you need them.
Open a purchased kit at home. Locate dressings, gloves and blister supplies, and check whether the packaging remains intact. A compact instruction guide can support training; it cannot replace practice or professional help for a serious problem.
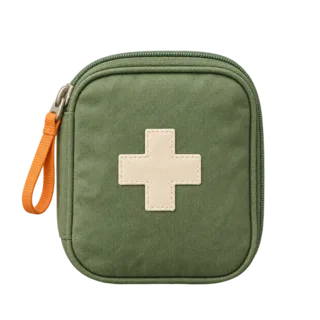
Check the kit after use.
Replace the dressing or blister patch you used on the last outing before putting the pouch back in your pack.
We recommend a first-aid course appropriate to the places you hike. The Colorado Mountain Club’s training guidance also emphasizes first-aid knowledge.
6. Fire: ignition, dry tinder and local rules
Carry a reliable ignition source and tinder that stays dry. A lighter with no fuel or matches with a soaked striker cannot do the intended job. Test the equipment safely before the trip, then protect it from moisture.
Read the land manager’s current restrictions before leaving. Carrying fire-starting supplies gives no permission to light a fire, and wood may be unavailable or unusable. Plan warmth around your layers and shelter so the kit still works without a campfire. Follow the NPS guidance on local fire rules and conditions.
Do not use flame inside a shelter. Keep stoves and flames out of tents and enclosed bivies. Fire and carbon monoxide can kill; see the CPSC camping equipment warning. An emergency warmth plan must remain usable when fire is prohibited or impractical.
7. Repair kit and tools: fit them to your gear
Carry a small knife or multitool where lawful, plus repair supplies suited to the equipment you depend on. Repair tape, a spare buckle or a compatible patch may solve a specific failure. Look at your pack, poles and footwear and ask which failure would end the hike.
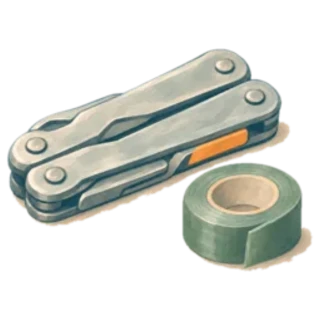
Check compatibility.
Make sure the tool fits the fastener and the patch works with the material. A heavy tool with the wrong fitting adds weight without solving that repair.
For backpacking, this may include the repair items for your sleeping pad, tent or stove. Follow the manufacturer’s instructions and practice simple repairs at home. A temporary fix still needs reassessment: torn footwear or a failing pack can be a reason to turn back.
8. Nutrition: extra food you can eat cold
Pack your planned meals and snacks, then a separate reserve. Choose familiar foods you can eat without cooking, allowing for allergies and dietary needs. The NPS Hike Smart guidance recommends an extra day’s supply for an unexpected delay.
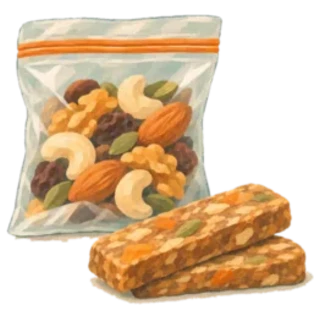
Give the reserve its own place.
Keep ready-to-eat food apart from the snacks you expect to finish. At the trailhead, check that you have not eaten into it on an earlier trip.
Food that requires a working stove and treated water adds dependencies to an emergency meal. Bars, nuts or other suitable ready-to-eat food avoid that preparation step. Choose items you will actually eat and inspect their condition after storage. Follow local wildlife food-storage requirements, which can add equipment beyond this list.
9. Hydration: carried water and a refill plan
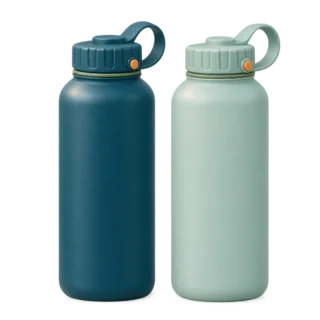
Start with enough water for the route and a reserve for delay. Work out the amount from the duration, effort, conditions and reliable refill opportunities; one bottle is not a universal allowance. Our hiking water planning guide explains how to estimate the load and check it against your route.
If your plan uses natural sources, verify current availability and carry appropriate treatment. Clear-looking water can contain germs. The CDC recommends boiling, or filtering followed by disinfection, and following product instructions. Ordinary filters do not all remove the same organisms. Boiling or disinfection cannot make chemically contaminated water safe.
A filter needs a source.
If the stream is dry, the filter adds no drinking water. On a route without dependable safe refills, carry the needed supply or choose another plan.
Check bottle caps, reservoir connections and treatment supplies before packing. Account for treatment time instead of expecting to drink immediately after collecting water. Turn back early if a planned refill is unavailable and you cannot safely continue with what remains.
10. Emergency shelter: protection during a delay
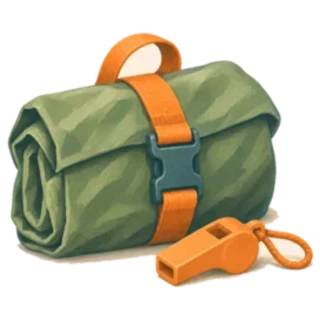
Carry protection you can deploy if you cannot reach the trailhead. Options include a suitable emergency bivy, tarp or blanket, chosen for your route and conditions. Think through how it will protect you from wind and rain and how you will reduce heat loss to the ground. A thin reflective sheet supplies little cushioning or ground insulation.
Unpack it once at home.
Check its size, opening and any setup requirements. A tarp may need attachment points and cord; a compact package does not show you how it works.
An emergency shelter can reduce exposure while you wait. It does not guarantee a safe night in severe cold, and it is not equivalent to a planned sleeping system. Choose more capable equipment or a different route when the likely conditions demand it.
A bivy or tent is not lightning-safe shelter. The National Weather Service identifies a substantial building or enclosed metal-topped vehicle as safe shelter. Check the forecast and plan exposed terrain around storm risk.
Read the National Weather Service lightning guidance before an exposed hike. Emergency rain protection and lightning safety are separate decisions.
Adapt the kit for day hiking, winter and backpacking
Keep every system in the plan and change its contents to match the outing. For day hiking on a familiar route, bring a light and protection for a delay. There is no single target kit weight that proves a bag is adequate.
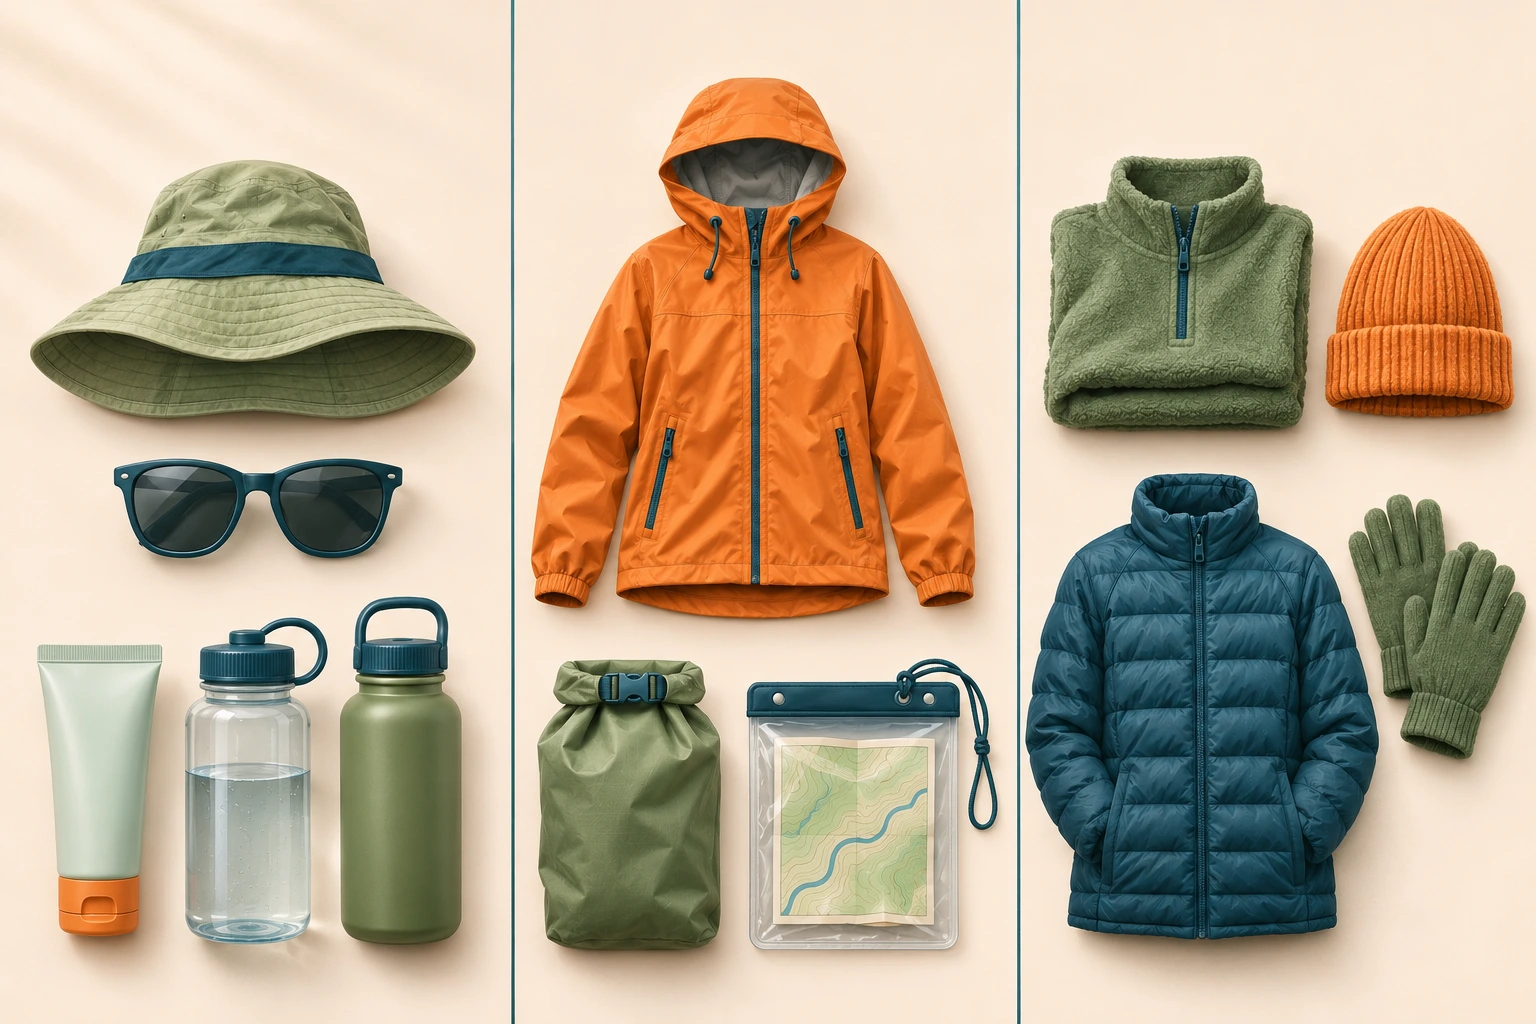
Hot or exposed terrain. Check water availability and how you will limit sun exposure. Shorten or reschedule the outing if you cannot carry the needed supply.
Wet and windy terrain. Protect dry clothing and paper navigation. Keep rain protection available before the weather changes.
Cold or remote terrain. Choose warmer insulation and a more capable shelter, and review communication and evacuation options.
Winter hiking
Winter hiking can require traction, snow travel skills and specialist safety equipment beyond this overview. The ordinary summer kit does not establish readiness for snow, avalanche terrain or severe cold. Check local conditions and choose terrain within your training. Leave routes that require skills or equipment you do not have for another trip.
Backpacking and overnight trips
For backpacking, add the sleeping, cooking and storage equipment needed for the planned nights. Keep emergency food and power reserves in that longer plan. A tent only serves as shelter when it is with you: if you leave camp for a side hike, reconsider what goes in the smaller bag.
Hiking alone
When hiking alone, check that you can use the equipment without another person’s help. Leave a detailed itinerary and consider communication beyond cellular coverage. A satellite device has its own charging, setup and service requirements; verify those before departure. Make sure each system works for you without borrowed equipment.
Hiking with kids
When hiking with kids, pack suitable clothing, food and water for each child. Adults carry the shared kit; a child’s smaller bag does not reduce what the group needs. Fit the route to the group’s abilities.
Hiking safety tips before you leave
Start with these hiking safety tips: choose a route within the group’s abilities, check current conditions and tell someone the plan. The NPS planning advice includes closures, an emergency plan and a way to communicate where cell service is absent.
Leave a usable trip plan. Give a trusted person your route, trailhead, expected return and the action to take if you are overdue. Update them if your plans change.
Check the route today. Read the land manager’s alerts and weather forecast. Confirm fire restrictions, access and water information.
Set a turnaround point. Allow time for the return journey and changes in pace. Turn back before darkness, weather or dwindling supplies remove your margin.
Agree on the emergency plan. Know who carries shared items and how you would call for help. Keep essential personal supplies with each person.
For a serious emergency in the United States, call 911 when you can connect, or use an appropriate emergency communication device according to its instructions. Be ready to give your location and explain the problem. Do not assume a message sent from a remote trail has reached anyone until the device confirms delivery.
Before leaving the trailhead, put the things you may need first within reach:
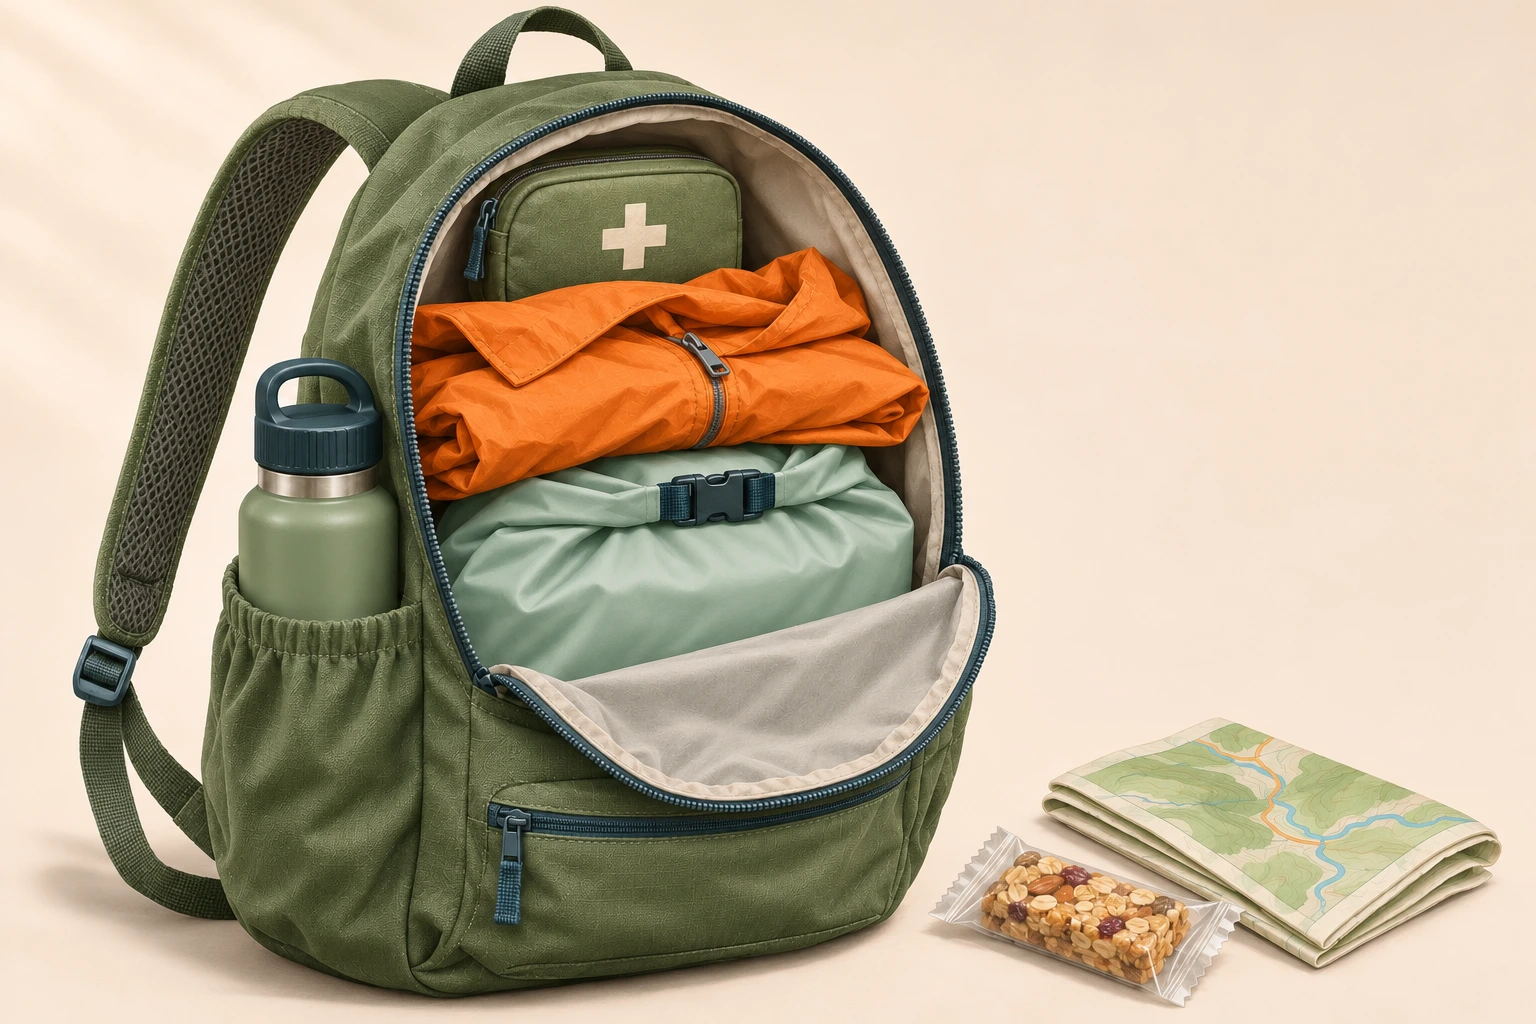
Weather protection within reach. Put the shell where you can retrieve it without exposing all your dry layers.
Light and first aid easy to find. Choose a consistent pocket and show companions where shared supplies are kept.
Check water before moving. Confirm containers are filled and closures secure. Supplies left in the car cannot support a delay on the trail.
Questions about the 10 essentials for hiking
What are the 10 essentials for hiking?
They are ten equipment systems: navigation, sun protection, extra clothing, illumination, first aid, fire, repair tools, extra food, water and emergency shelter. A system can contain several objects. Match the contents to the route and conditions.
Do I need them on a short day hike?
Yes. Even on a familiar day hike, an injury can keep you out after dark. Scale the contents to the conditions while keeping every safety function covered.
Can I download a printable checklist or PDF?
Use the checklist’s Print button, then select your browser’s Save as PDF option or print on paper. Recheck consumables, batteries and the forecast for each outing; saved checkmarks do not verify today’s equipment.
Can my phone replace a map, compass and headlamp?
A phone can support navigation and provide a light, but those functions share a battery and one device. Carry independent navigation and a separate headlamp, with the skills and spare power they need.
Can a group share the equipment?
Some equipment can be shared when its capacity suits the group and everyone knows who carries it. Keep personal medication, clothing, water and a light with each person. Reassess the kit before anyone leaves the group or goes on a side trip.
Do the ten systems guarantee survival overnight?
No. Conditions, equipment quality, skills and the nature of the emergency matter. A compact emergency blanket does not make severe cold safe. Choose the route and equipment together, and change the plan when the kit cannot cover the expected conditions.
Check the whole outing. Use the full packing list to add footwear, clothing and trip-specific extras, then practice navigation somewhere familiar.