
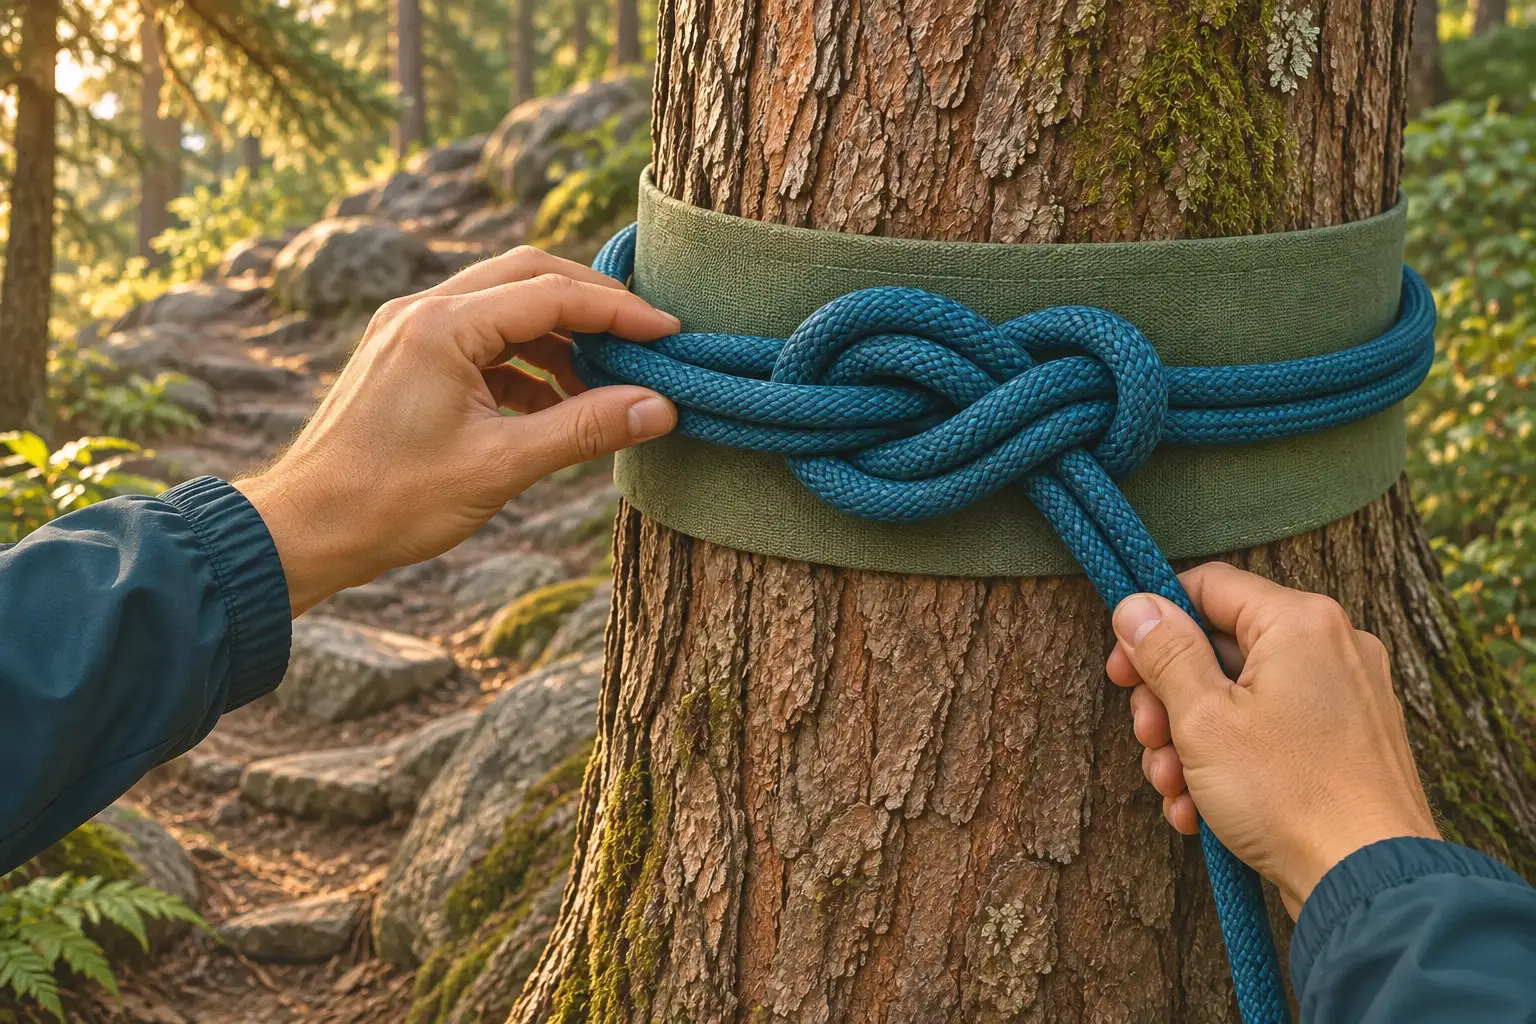
How to tie a figure 8 follow through
This knot goes by several names: figure eight follow through, figure of 8 follow through, retraced or rewoven figure 8. Climbers often call it a double figure 8, because the finished knot is a figure eight made of two strands. It is the same knot every time. For the tree and anchor jobs in this guide, start with plenty of rope: about three feet for a harness, plus the trunk’s girth for a tree.
Measure the end. Hold the rope end and measure back. Climbing.com’s rule for a harness is about three feet, roughly from your outstretched hand to your nose. Add the trunk’s girth for a tree.
Tie a loose figure 8 knot. Make a loop, take the end around the standing rope and back down through the loop. The rope now looks like an 8. Leave it loose.
Pass the end around the anchor. Wrap the trunk, run it through the ring or through both tie-in points of a harness. The loop you make now becomes the loop of the knot.
Trace the eight back. Feed the end into the knot where the end first came out, and follow the first strand in reverse, always on the same side of it. It should run right next to the rope already there.
Exit beside the standing part. The end leaves the knot next to the standing rope, pointing the other way. You now have a figure eight of two strands.
Pull all four strands snug. Tighten each strand in turn, the two loop strands, the standing part and the tail, until the knot sits firm.
Alpinesavvy’s trick for the tracing step is “start hard, finish easy”: go first through the hole that is hardest to see. If you are learning, tie it around your own knee or a chair leg ten times before you rely on it.
How to dress a figure 8 follow through
Dressing means laying the strands side by side before you tighten. Animated Knots puts it simply: there should be two strands beside each other at each part of the knot. Then pull, and the knot should tighten neatly. Check it every time someone ties in or rigs a line. A partner should be able to count the pairs at a glance.
Dressed
- Two parallel strands at every curve.
- Looks like a clean figure eight.
- A tail you can grip.
- Loop sized for the job.
Retie it
- Strands cross or twist over each other.
- One curve shows a single strand.
- Tail too short to grip.
- Knot still loose and lumpy.
How to tie a figure 8 around a tree or anchor
A figure 8 around a tree is the classic way to anchor a hand line on a steep path, a rope on a short scramble or a line at camp. Because the trunk is closed, a figure 8 on a bight cannot go over it. You need the follow-through method, which Wikipedia’s figure-eight loop article notes is the only way to tie a figure 8 loop directly around an object. A hand line is there for balance; it is not meant to catch a fall.
Pick a living, solid anchor. A sound, healthy trunk that does not move when you push it, or a rock that cannot roll. Dead trees and loose boulders are not anchors.
Protect the bark. Lay a pad, a piece of old hose or a wide strap between rope and trunk. A tight rope rubbing in the wind can cut into the bark.
Tie the figure 8 knot first. Leave enough end to go around the trunk and back through the knot, plus a tail.
Wrap and trace. Take the end around the trunk, then follow the 8 back as above. Keep the loop snug to the trunk so the knot does not sit far out.
Load it and look again. Test it at ground level, away from any drop: lean back on the standing rope. The knot should stay dressed and the rope should not slide down the trunk.
A rope around a tree is not a climbing anchor. A hand line helps people keep balance on easy ground. For roped climbing, rappelling or lowering people, use a trained instructor’s system. Our guide to tying a rope to a tree explains how a tight rope girdles a trunk and when to use a strap.
The same knot works on other closed anchors: a steel ring, an eye bolt or the rings of a tree sling. On a carabiner you can clip a figure 8 on a bight instead, which is quicker. Animated Knots suggests the follow-through when you need to tie straight onto a ring, a carabiner or your own harness.
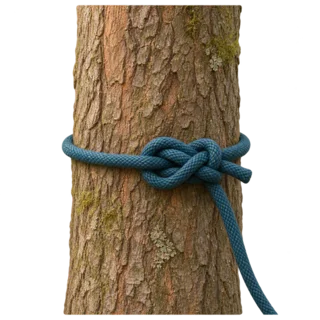
Around a trunk
The main use on a trail: one wrap, retraced eight, pad under the rope.
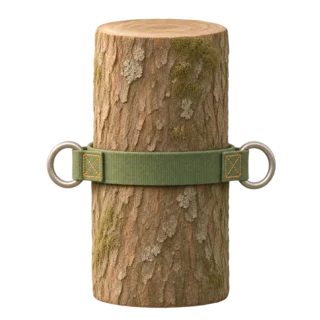
To a tree sling
A wide strap spreads the load on the bark. Tie through its rings or clip a bight.
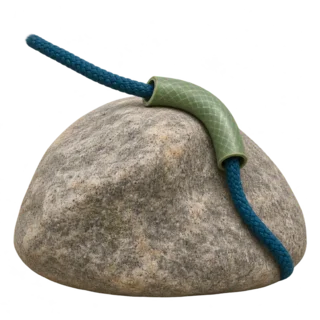
Over an edge
Where the rope leaves the anchor over rock, a sleeve or old hose keeps it from wearing through.
What a retraced figure 8 is used for
You use a figure 8 follow through when you need a fixed loop around something closed. It does not slip or shrink when the rope goes slack, and it is easy to check by eye. Its main uses:
- Anchoring a hand line to a tree
- Tying into a climbing harness
- Tying a rope to a ring or eye bolt
- The top of a short fixed rope
Figure 8 on a bight vs follow through
Both make the same knot. A figure 8 on a bight is tied in a doubled section of rope, so the loop exists before it meets anything. You clip it to a carabiner or drop it over a post. Animated Knots says that when the loop can be dropped over the object, the bight is the better way to tie it. When the anchor is closed, use the follow through.
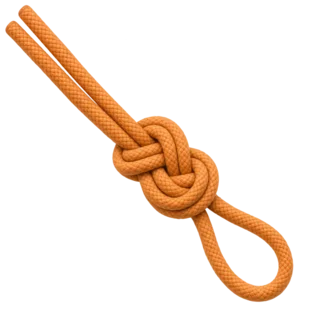
Figure 8 on a bight
- Fold the rope, tie a figure 8 knot with the doubled rope.
- Quick to tie, even in the middle of a rope.
- Clip it or drop it over a post.
- Cannot go around a closed trunk.
Figure 8 follow through
- Tie a single 8, then retrace it with the end.
- Takes longer and uses more rope.
- Goes around trees, rings and harnesses.
- Only at the end of a rope.
The figure 8 knot it starts from
The plain figure 8 knot is a stopper: tied near the end of a rope, it makes a bulky knob that will not pull through a ring or a belay device. It is bigger than an overhand knot and easier to untie after a load. Every figure 8 loop and bend begins with it, so get it right first.
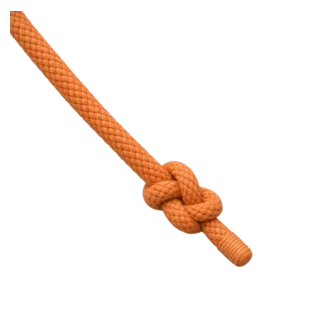
Figure 8 stopper
Loop, around the standing rope, back down through the loop. Two lobes, like an 8.
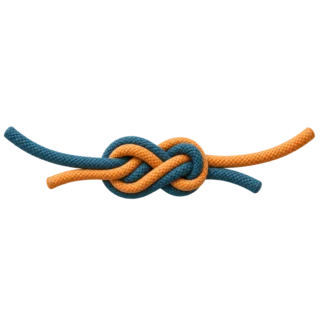
Figure 8 bend
To join two ropes: tie a loose figure 8 knot in one, then trace it backwards with the other.
The figure 8 bend, also called the Flemish bend, joins two ropes of similar thickness. Animated Knots warns against using it on ropes that differ much in size, and for important loads asks for long tails, each finished with a double overhand stopper knot.
Figure 8 follow through for climbing
Climbers use this knot to tie the rope to the harness. Thread the end through both tie-in points (never the belay loop alone), then retrace the 8. Learn the tie-in from a qualified instructor and get a partner check every time. The AMGA, quoted in the Wikipedia article, suggests a loop about the size of the belay loop. A small loop is less likely to snag or get clipped by mistake.
Leave the 6-inch tail and have your partner look at the knot before you leave the ground. Some gyms also ask for a double overhand around the standing rope, tied tight against the 8.
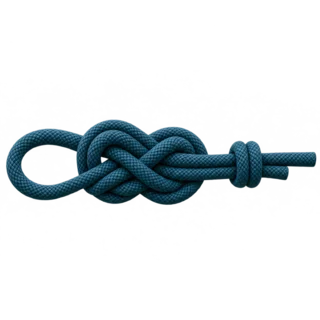
Double overhand backup
Two wraps around the standing rope, snug against the knot.
Clip-in loop
For a carabiner, a figure 8 on a bight is faster than retracing.
Safety knot and Yosemite finish
Does a well-dressed figure 8 follow through need a safety knot? Climbing.com says no, and adds that the AMGA recommends none because a backup makes the main knot harder to inspect. Animated Knots notes that a stopper is still often tied on the standing rope, and that it must sit tight against the 8 so no one clips into the gap. Follow your gym’s rule. The Yosemite finish tucks the tail back into the knot; Wikipedia notes it makes untying easier but weakens the knot when it is pulled sideways.
This is a hiking guide, and it stops at the knot. Learn belaying and rappelling from a certified instructor.
Figure 8 follow through vs bowline
Both tie a fixed loop around a closed anchor. The bowline is quicker to tie and stays easy to untie after a heavy load. Animated Knots warns it can work loose when the rope is unloaded, so it needs a safety knot. The figure 8 is bulkier and can jam, yet it stays put and shows mistakes clearly. For a hand line that will be loaded and unloaded all day, we use the figure 8.
Retraced figure 8
Holds when slack, easy to inspect. Can jam after hard loading.
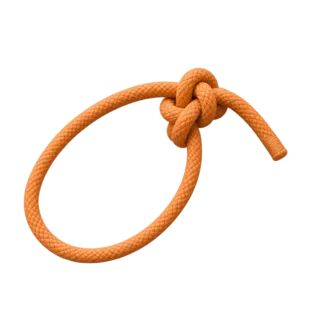
Bowline
Fast and easy to untie. Can loosen when unloaded; back it up.
Strength and how to untie it
Any knot weakens a rope, because the rope bends sharply inside it. Climbing.com puts this knot at 75 to 80% of the rope’s strength. That number assumes a dressed knot; a messy one is weaker and more likely to jam. The knot does not slip once it is tied correctly, which is why it has become the standard climbing tie-in.
The trade-off shows up after a hard load. Wikipedia notes the knot can be difficult to untie and can jam badly. Alpinesavvy explains that when the loaded strand runs on the outside of the knot, it cinches the whole thing down. A camp line rarely gets loaded that hard.
Figure 8 questions
What is a figure 8 follow through?
A fixed loop made by tying a figure 8 knot, passing the end around an anchor and retracing the knot with it. The result is a figure eight of two parallel strands.
What is the difference between a figure 8 and a figure 8 follow through?
A figure 8 knot is a single-strand stopper. The follow through retraces it with the end, so it becomes a loop around an anchor.
How much tail should a figure 8 follow through have?
At least 6 inches past the knot. Alpinesavvy says to start over if it is shorter.
How do you tie a figure 8 knot around a tree?
Tie a loose figure 8, wrap the end around the trunk over a pad, trace the knot back from the end and pull all four strands tight.
Is a figure 8 knot strong?
A dressed figure 8 loop keeps about 75 to 80% of the rope’s strength, according to Climbing.com. It does not slip when tied correctly.
Can a figure 8 knot fail?
Problems come from an unfinished knot, a short tail or a wrong path through the eight, so check it every time.
How do you join two ropes with a figure 8?
Tie a figure 8 bend: a loose figure 8 in one rope, then trace it back with the other. Use ropes of similar thickness and leave long tails.
What is a figure 8 on a bight used for?
A quick loop to clip to a carabiner or drop over a post, tied anywhere in the rope without an end.
Practice it before the trip Tie it at home until it is automatic, then take a short rope on a route with a steep section.