
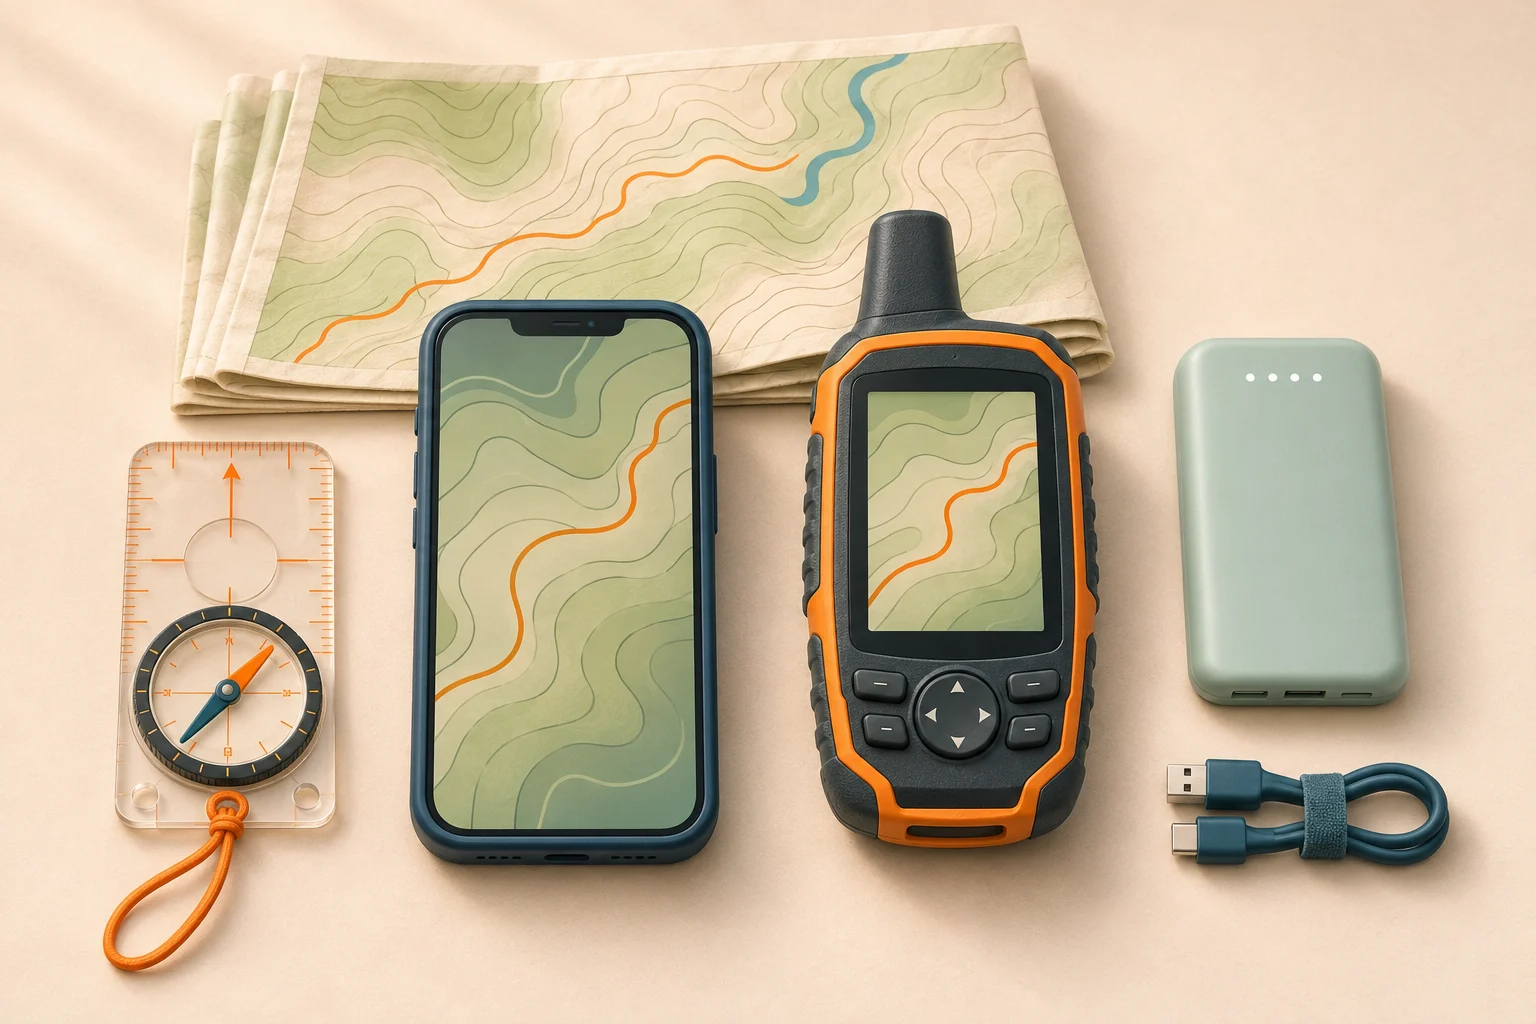
GPS for hiking: phone vs handheld GPS
If your phone already handles the maps you need, try that setup on a short, familiar trail before buying another device. You will learn whether you can read the screen in sunlight, find a junction, or use the controls with your hiking gloves.
Phone with a hiking app
A large screen gives room to inspect nearby junctions, and you already know the controls. Save the map on the phone itself. Photos and navigation share its battery, so test your power plan.
Dedicated handheld GPS
A handheld separates navigation from the phone’s battery and screen. Consider it for longer outings or controls that suit the weather. Try the actual model: maps, power systems and messaging features vary.
Before a remote or off-trail trip, learn how to identify your position and choose a safe line through the terrain. Our guide to reading a topographic map explains how to read the contours and features around your position.
Will GPS work without cell service?
Yes. A GPS-enabled phone gets its position from satellites, with or without cell service. The app also needs a map to place that position in context. Downloading a route to your account does not necessarily store its surrounding map on the device.
Gaia GPS explains the distinction: maps are downloaded while connected; the device’s GPS supplies location offline. Location permission must remain enabled. Check your app’s instructions for the phone and operating-system version you use.
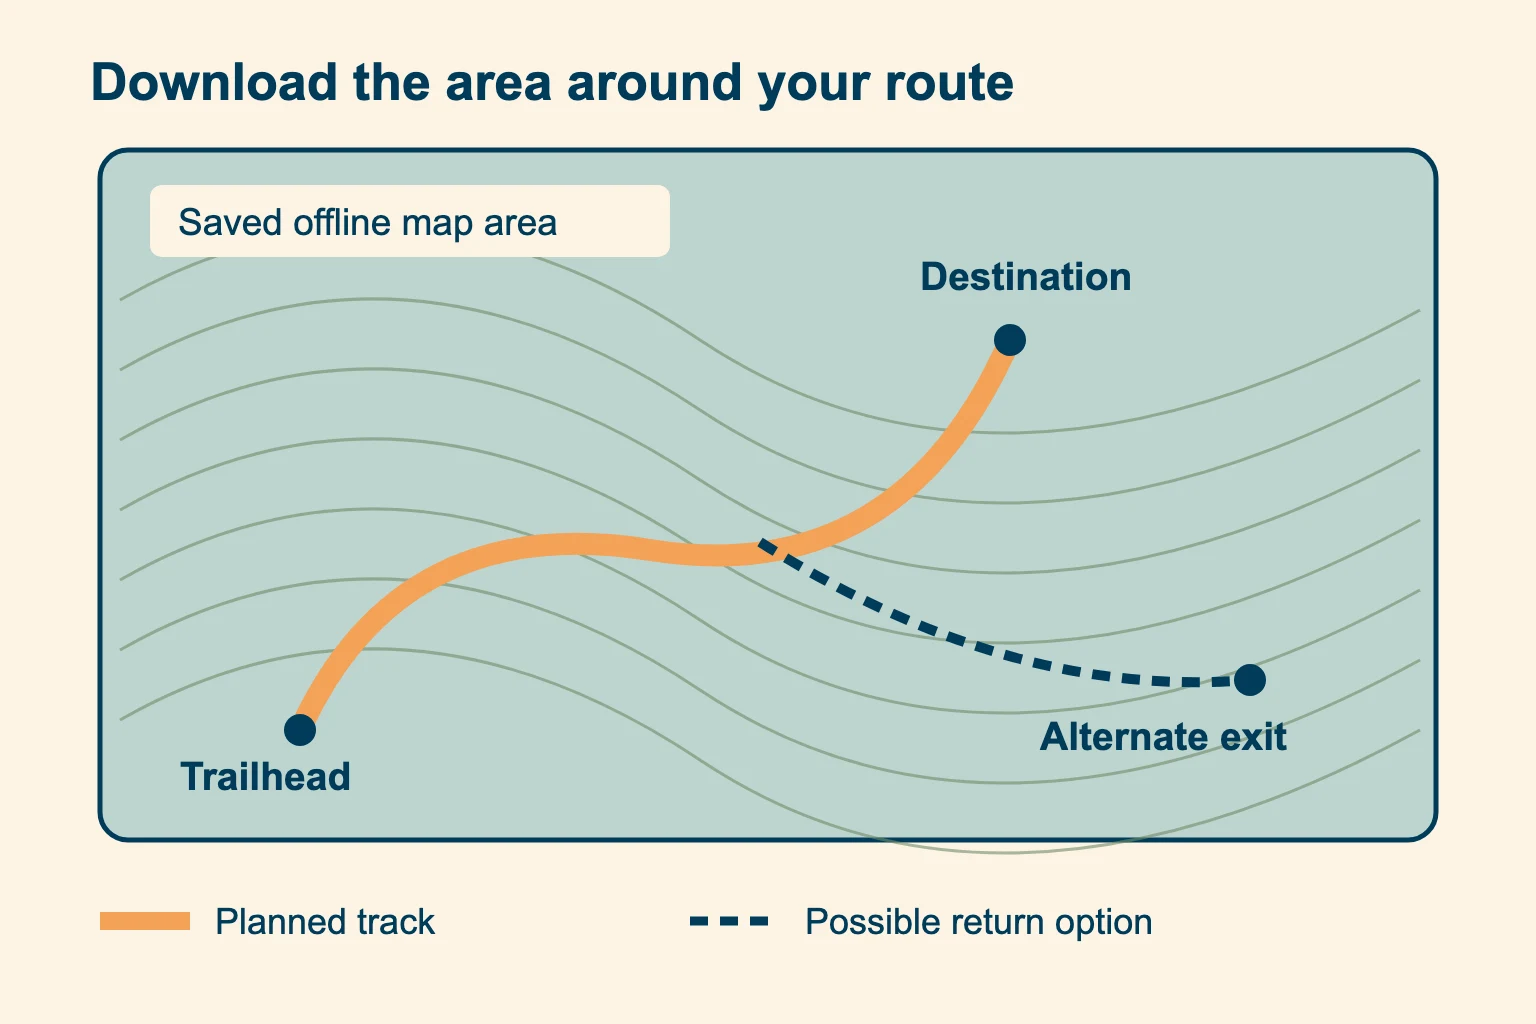
Cover the surroundings. Save terrain around the route, including planned return options. A thin strip can leave you without a map if plans change.
Check the useful scale. Zoom to the detail needed at junctions. A distant overview may be present while detailed tiles are missing.
Check download status before the airplane-mode test
First confirm that the map is listed as completely downloaded in the app. Then turn on airplane mode, turn off Wi-Fi and reopen the saved map. Pan along the whole route and inspect the surrounding area at the scales you expect to use. Outdoors, check that your current position updates.
The test has a blind spot. Gaia’s Android download-check guide warns that cached map tiles can appear offline even when a download is incomplete. Those temporary tiles may later disappear. Use both the completed-download status and the offline test; one familiar patch of map does not prove the download is complete.
Airplane mode changes your communication options. Turn it off when you need cellular calls or messages. Test any satellite communication feature separately according to its instructions. For the full download workflow, see our offline hiking maps guide.
Choose a hiking GPS app for offline maps
Choose a hiking GPS app that covers your trail and planned return options offline, with a download status you can verify. Then check whether the app can import your route, show your location and record a track without a connection. Test these functions on the device you will carry.
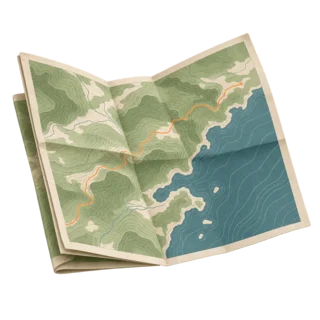
Terrain you can interpret
Look for readable contours, trail junctions and land features. Cross-check access and closures with the land manager.
Downloads you can verify
Find the download list and its completion indicator. Check map layers and the detailed zoom levels you need.
A route you can reopen
Import a practice GPX file, close the app and load it again offline. Find the recording and return-navigation controls.
AllTrails, Gaia GPS and Google Maps: check the feature you need
AllTrails’ download instructions currently place offline map downloads in its Plus and Peak plans. The completed maps appear under Saved → Downloads. Bookmarking a trail is a separate action. Open the download and check the map type before leaving.
For Gaia GPS, use its getting-started instructions and the download checks above. Offline map downloads require a Premium subscription under the current documentation. Verify your account’s access before the trip; plan names and app interfaces can change.
Google Maps can be useful for the drive, but its offline-map documentation says walking directions are unavailable offline. Saving a driving area is therefore a poor substitute for preparing a hiking map. A free app download does not mean offline maps are free.
When a handheld GPS earns its place
A handheld GPS keeps navigation separate from your phone. Its own power supply is useful on a long trip; physical buttons can make operating it in gloves easier. There is a cost beyond the purchase price: extra weight, an unfamiliar interface and another device to prepare.
Before choosing one, open its manual and check these details against your own needs:
- Map display. Some units show detailed topographic maps; others offer a simpler waypoint or breadcrumb view. Confirm coverage for your destination and any map cost.
- Power. Check whether it uses replaceable batteries or an internal rechargeable battery, and how you will replenish it in the field.
- Controls and protection. Try zooming, selecting a waypoint and locking the screen or buttons. Read the model’s water-resistance and temperature limits.
- Satellite reception. Multi-GNSS means support for multiple satellite constellations. Multi-band means use of more than one frequency band. They are different features.
- File transfer. Practice loading the route using the supported cable, app or wireless method. Pairing a device alone does not prove the file reached it.
The Garmin GPSMAP 67 manual is one example of model-specific instructions for satellite modes, maps and navigation. Find the equivalent instructions for the unit you plan to carry.
How to use GPS for hiking: tracks, routes and waypoints
Know the difference before you load a file. A waypoint is a saved location, such as a junction. A track is a sequence of points describing a path. A route connects destinations and may be recalculated according to the device’s maps and settings. GPX files can contain more than one type of item.
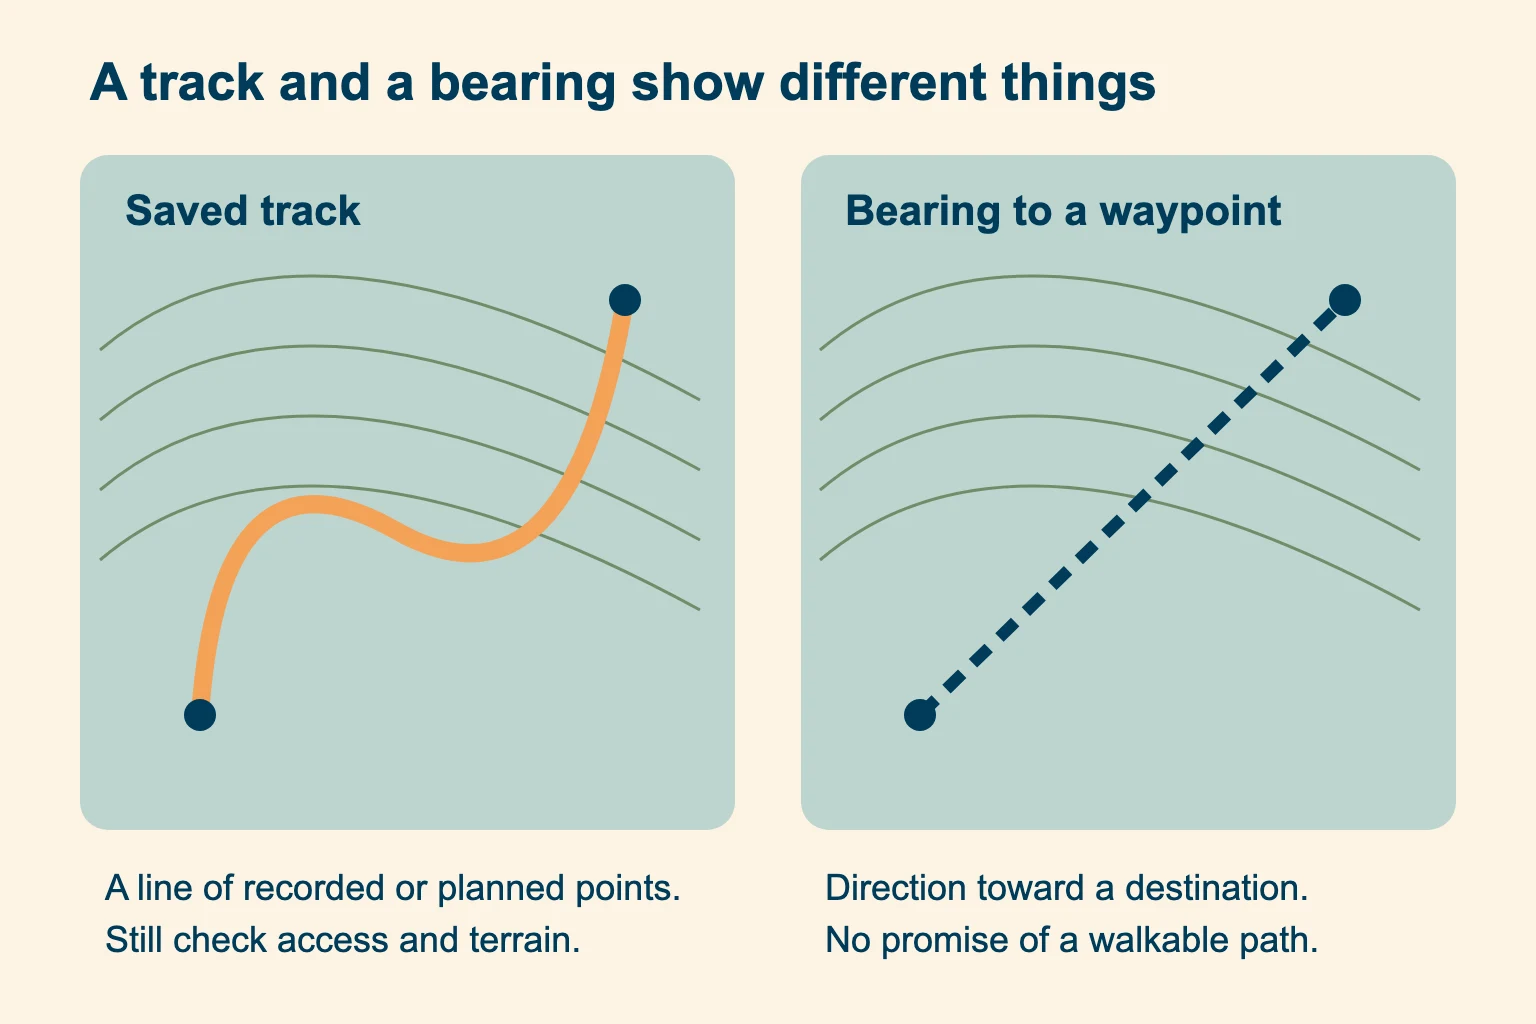
Know what a track shows. A track traces a path, but says nothing about current closures or conditions. Check its source before using it.
Read what the arrow means. A bearing to a waypoint can point straight across a ravine. Follow the safe trail or planned terrain route.
Prepare the map and GPX. Get the current route information from a trustworthy source. Load the file and the surrounding offline map onto the device.
Inspect it before walking. Confirm the trailhead, direction and junctions. Compare the route with current access information; a shared track may be old.
Check your starting position. Let the receiver acquire a fix outdoors. Compare the dot with the trailhead and visible features before starting navigation.
Record and recheck. If you want a return track, start recording and confirm it is running. Stop safely at uncertain junctions to compare the screen with the terrain.
Do not mistake a straight-line distance for remaining trail distance. Nor does a recorded outward track guarantee a safe return: a stream can rise or a slope can become unsafe. Stop if the ground disagrees. A route line continuing across a washed-out bridge is still just a line; resolve the mismatch before following it. Practice return navigation on a familiar walk.
Is a handheld more accurate than a phone?
There is no reliable category-wide winner. Receiver design, satellite visibility and signal reflections affect both. A recent phone with suitable hardware can outperform an older handheld; a capable handheld may perform better in a difficult setting. Compare the actual devices and the modes in use.
GPS.gov’s accuracy guidance identifies signal blockage and reflections as causes of position error. Trees and steep terrain can make the displayed location less dependable. Multi-band reception can improve performance, but a consumer device cannot guarantee which side of a cliff you are on.
A precise-looking dot can still be wrong. At close parallel trails or switchbacks, compare junction signs, contours and visible features. Stop in a safe place if the position jumps. Move toward a clearer sky view only when the ground is safe; never chase a signal across hazardous terrain.
Map error is a separate problem. A good position fix can sit beside an inaccurately drawn trail. Zoom out, check recognizable landforms and avoid forcing the landscape to fit the screen. If transferring a bearing to a compass, match the north reference as explained in our magnetic declination guide.
Plan battery life for the whole hike
Battery life on the box is measured under stated conditions. Screen use, recording settings and temperature change what you get. Use a local outing of known duration to test the setup, keeping the same app and recording mode that you intend to use on the longer hike. Check consumption. Leave capacity for a delayed return.
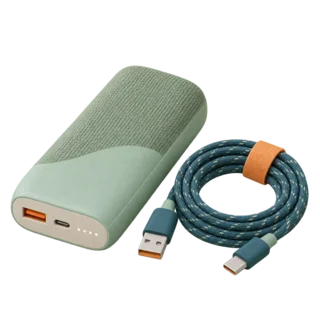
Phone power
Charge before leaving. Carry a charged power bank and the cable that fits, and check that they actually charge the phone.
Handheld power
Bring compatible spare batteries or a tested charging method. Check the manual’s endurance for your selected navigation mode.
Keep the screen off between checks when the route is clear. Avoid spending the navigation reserve on unnecessary filming. Keep the device accessible and protected; in cold conditions, an inner pocket can reduce exposure between checks.
Apple warns that very cold conditions can temporarily shorten battery life or shut a phone down. Charging may also stop when the device is too cold or hot. Follow the manufacturer’s temperature guidance and let the device return to an acceptable temperature before charging. A power bank cannot fix a broken screen or a lost phone.
Can a GPS watch replace the map?
A GPS watch is convenient for checking progress without taking a phone out. Check its maps as you would a handheld’s. Some watches show detailed offline maps; others show only a breadcrumb line or direction to a point. Confirm the features of your model and the map area stored on it.
Can you see which branch to take? Try reading a junction on the small screen before making it your main navigation tool. Keep a larger map available for choosing among return options. If the watch depends on the phone for a feature, test what remains available when the phone is disconnected. Check its battery estimate in GPS recording mode, rather than ordinary watch mode.
A GPS tracker is not automatically an SOS device
Check whether the GPS tracker stores a log or can transmit your position to someone else. Receiving positioning signals and transmitting a message are separate jobs. A cellular tracker may need a SIM and cellular coverage to report its position; an ordinary GPS receiver does not need a SIM just to calculate a location.
For remote trips, decide how you would call for help. A satellite messenger, a personal locator beacon and a phone’s supported satellite features have different capabilities and requirements. Verify activation, coverage and the manufacturer’s test procedure before relying on any of them. Do not press a real SOS button for a casual test.
For example, the GPSMAP 67i manual requires an active satellite subscription for its inReach functions, including SOS. The similar-looking GPSMAP 67 is a different model. Satellite messaging also needs a usable view of the sky; terrain can delay transmission.
Leave a trip plan. Give a trusted contact your route, expected return and instructions for an overdue return. Tell them whether they should expect live updates. An offline recording will not appear on their phone simply because yours is logging a track.
The National Park Service’s hiking guidance recommends leaving a trip plan and preparing an emergency communication method. Service may be absent even on a day hike.
Before you leave: navigation checklist
Check at home. Finding an incomplete download at the trailhead leaves you with fewer choices, especially when the connection you need is already gone. A second app on the same phone helps with some software problems, but both apps disappear if the phone is lost. Carry a usable independent backup and practice with our beginner compass guide.
Hiking GPS questions
Can I use my iPhone as a GPS for hiking?
Yes, with a suitable hiking app, location permission and verified offline maps. Practice before the trip and prepare power, weather protection and independent backup. These requirements also apply to GPS-enabled Android phones.
Is it worth getting a GPS for hiking?
A separate handheld is worth considering when independent power, suitable controls or its navigation features solve a specific problem. For a marked day hike, first test your existing phone setup. Buying a device does not replace learning map skills.
What is the best handheld GPS for hiking?
Choose by the map display you need, usable controls, battery system and route-transfer workflow. Check exact-model specifications and total map costs. This guide compares setups; it does not claim a field-tested product ranking.
What is the best hiking navigation app?
Start with reliable offline coverage for your trail, readable terrain and a download status you can verify. Test importing and reopening a route on your phone. Check which features your subscription includes before choosing.
Can a GPS tracker work without a SIM card?
A GPS receiver can calculate a position without a SIM. Recording that position locally is different from sending it to someone. Live sharing needs a supported communication connection and any required service.
What is the best GPS for hiking without a subscription?
Look for a receiver whose basic navigation and required maps work without a recurring plan. Check map licenses separately. Satellite messaging and SOS may require a service even when ordinary navigation does not; compare the exact functions you need.